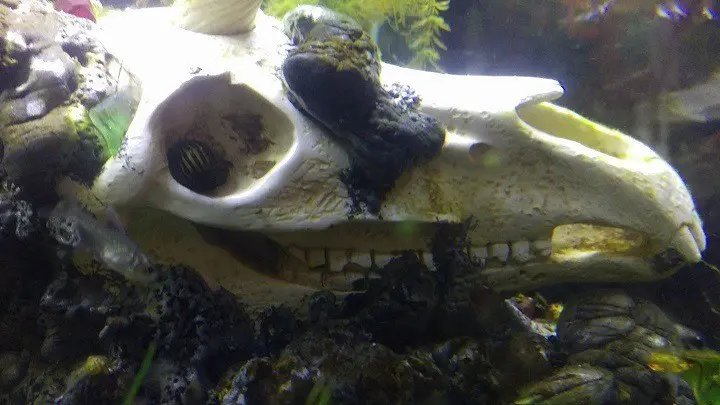
The first time I saw this awesome realistic unicorn skull, my immediate thought was, “that needs to be in a fish tank!” and not just in a first tank, it needed to be the center piece. I got this elaborate vision of a rock encrusted fallen unicorn turning all the neighboring fish into rainbows. The answer to making that vision a reality was a DIY 3D foam fish tank background or cave I suppose in this case. I have done a full foam background before, but I lost most of my process images in a phone failure. I will include instructions for both methods, but images for the full background version will be fewer.
Alrighty, first off, what do you need to make a DIY 3D aquarium background or cave?
As mentioned there are two popular ways. One involves building a foam block from foam slabs, carving that foam into your shape, and then sealing it. The second involves spraying out your shape with pond spray foam and embellishing that to look more like your desired shape (rock is the most popular choice, but people also sometimes do trees). The full 3D background I did was the slab method, the unicorn cave was done with spray foam.
For the slab method:
-Foam slabs: I got mine free from a furniture store trash can (with permission).
–Aquarium silicone
–Drylok and cement colorants: I used grey Drylok and tinted it with black to create two tones.
-Sharp knife
-Shop vac
For the spray foam method:
–Pond and landscape spray foam
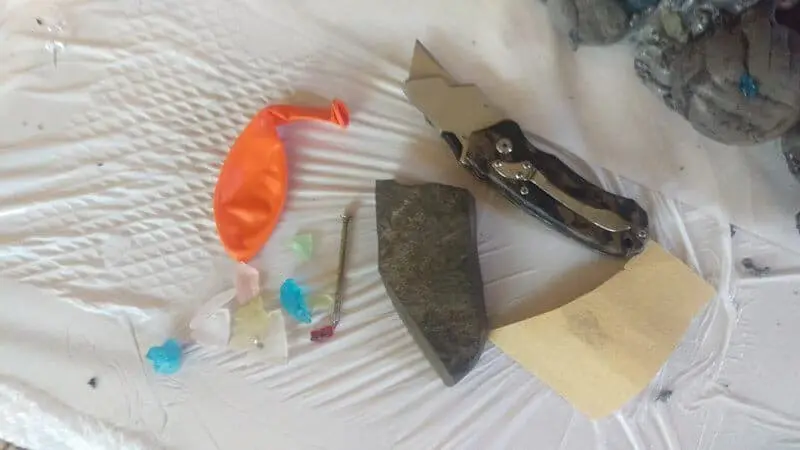
-Parchment paper and gloves
-Tools for design such as a nail, sand paper, jagged rock, razorblade
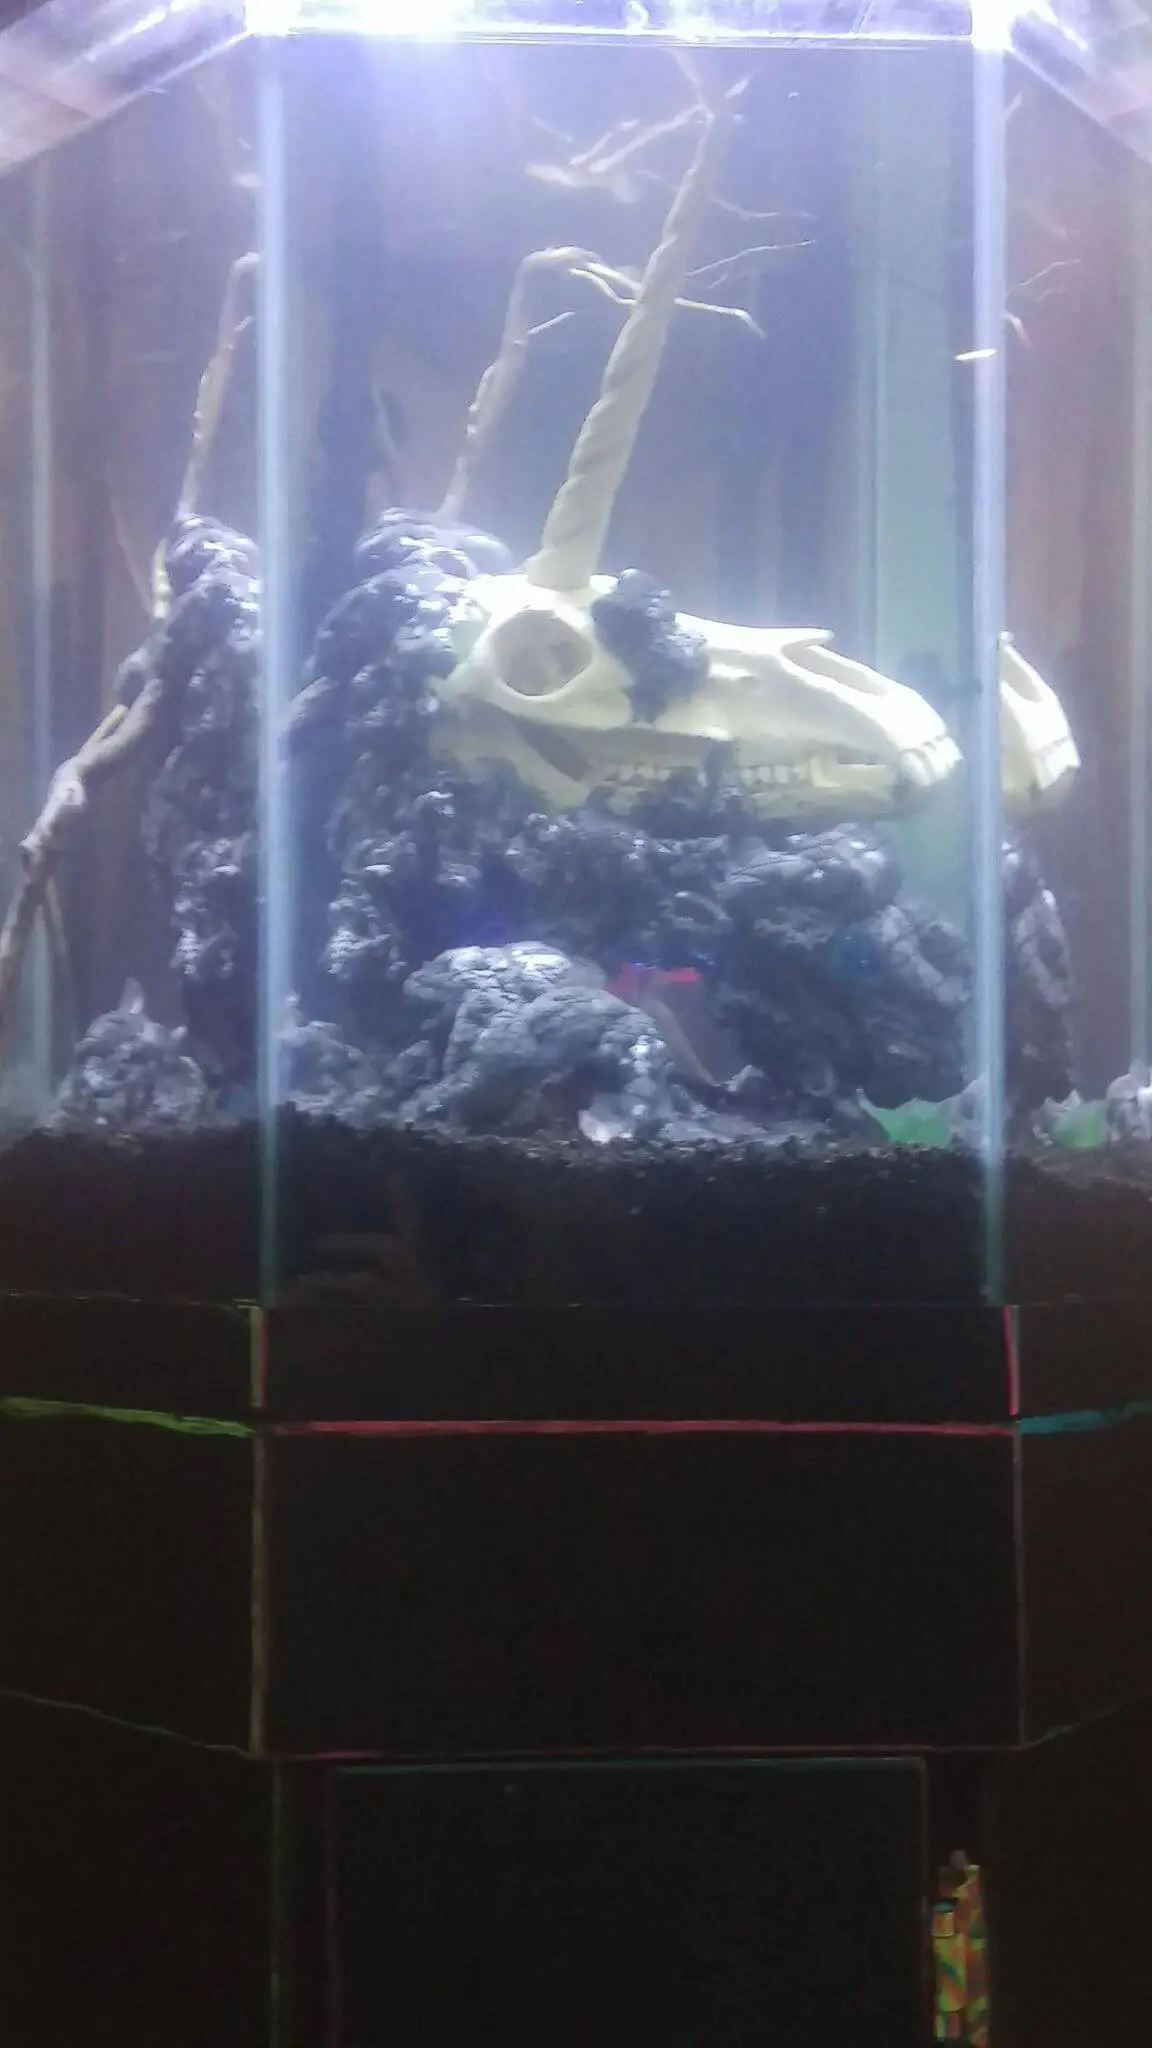
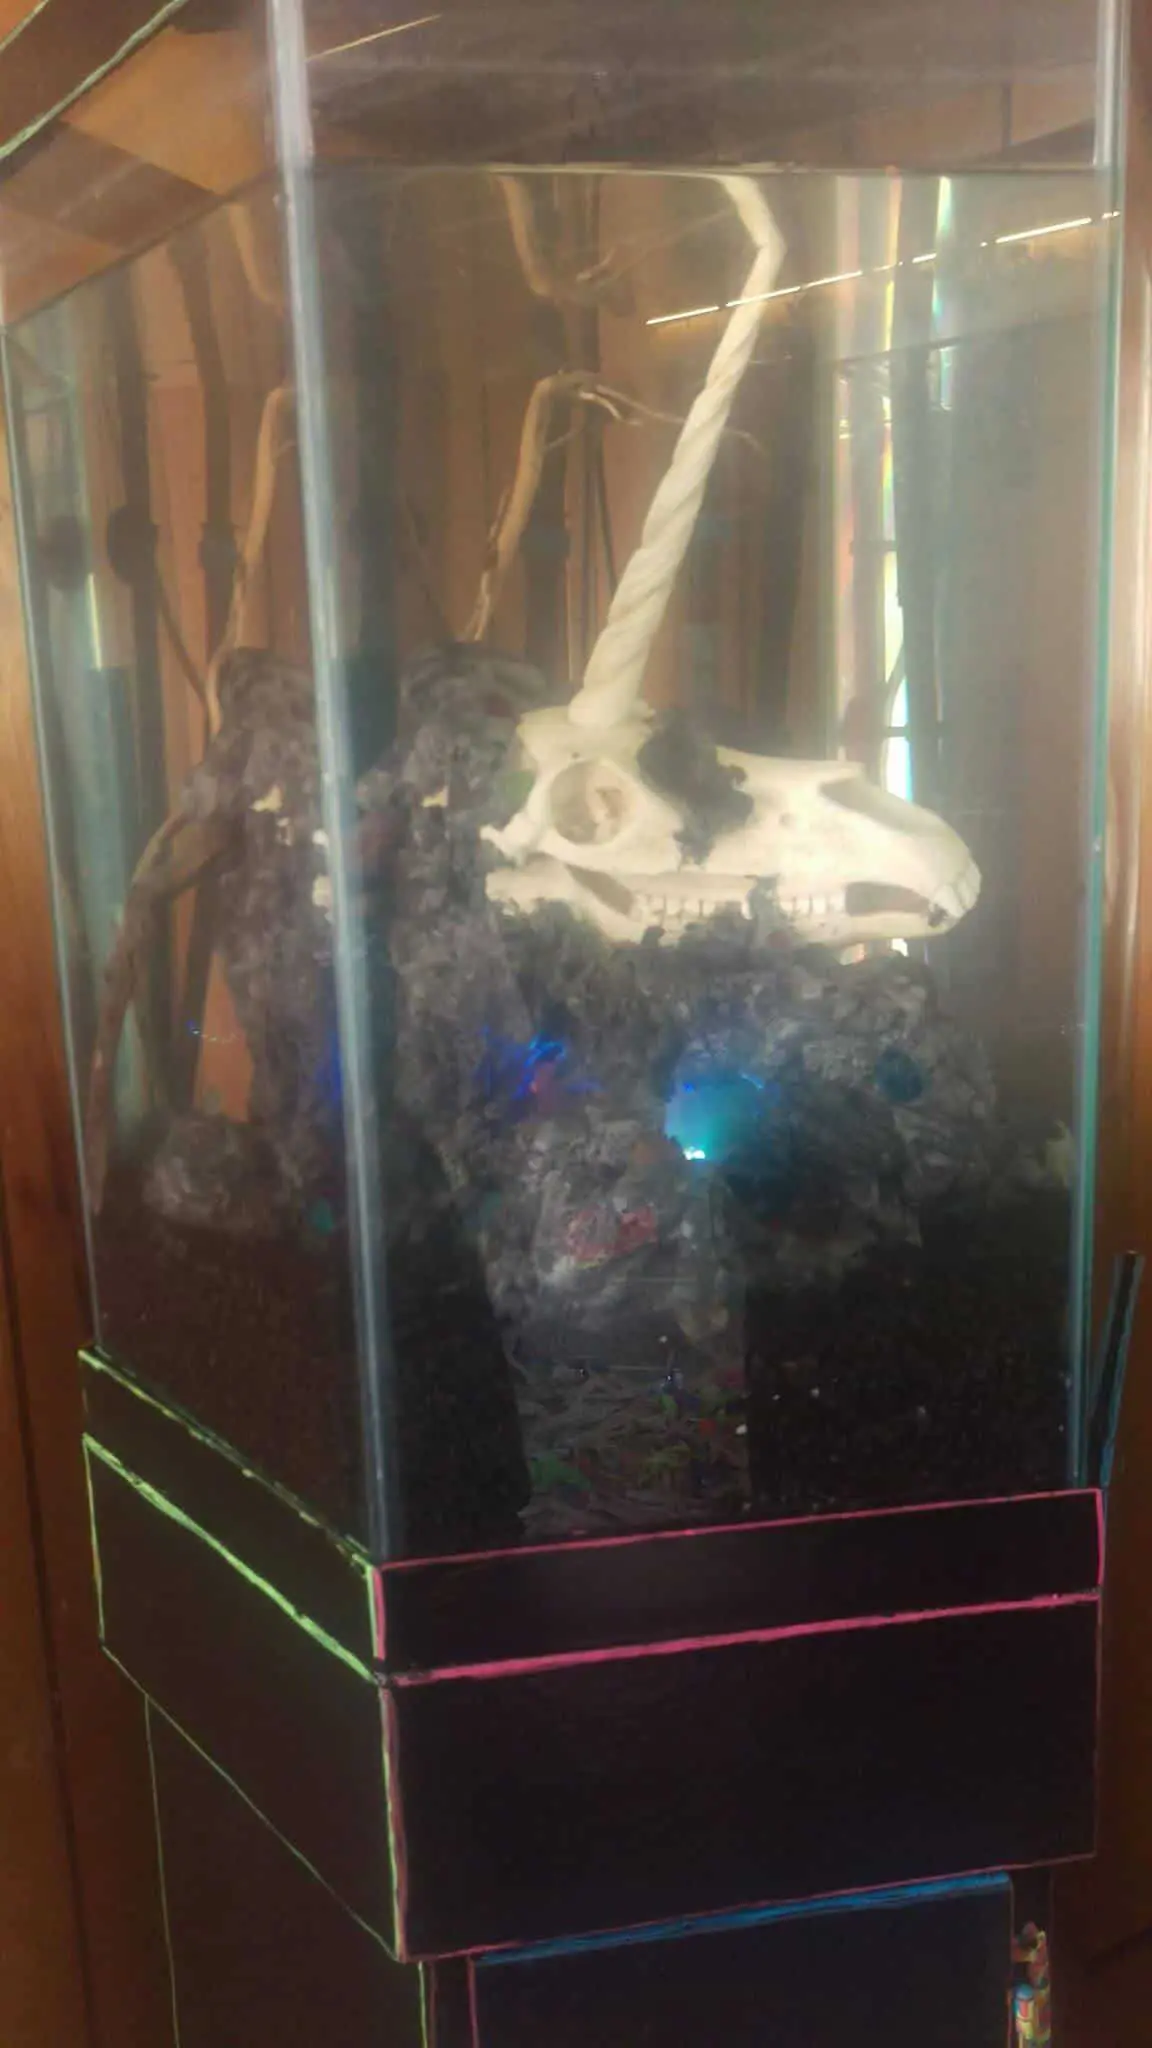
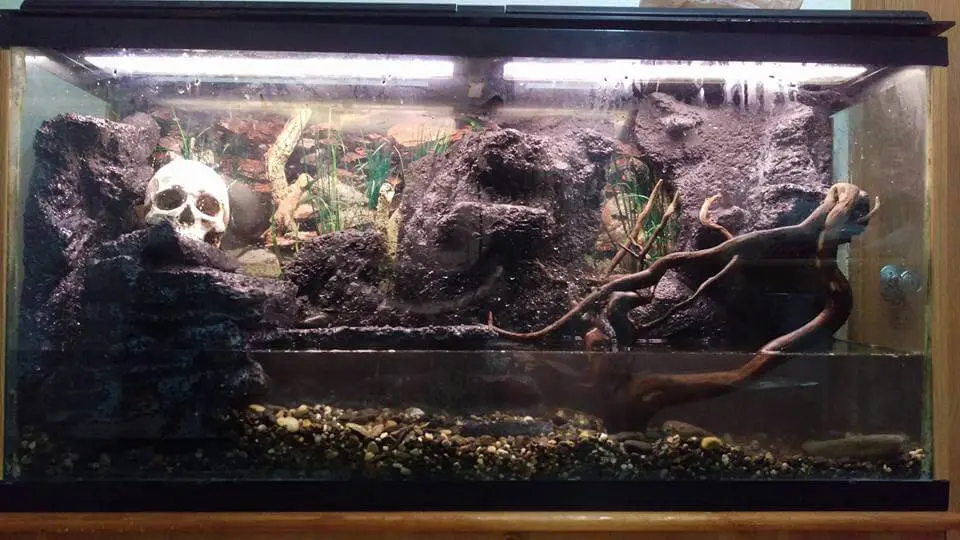
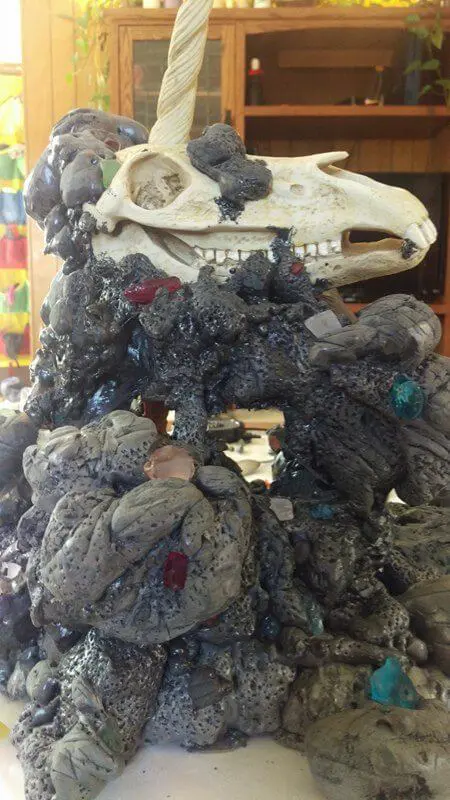
With either method you can accessorize. My full 3D fish tank background used a resin skull and the output house of a canister filter to create a water fall. My unicorn cave obviously used a unicorn skull, but also beach glass “jems” and a color changing LED disc. Inserting the skull and creating a cave also required a balloon and fishing line.
Cost wise, the spray foam method is cheaper. This is because Drylok is relatively expensive ($25-30 a gallon, the 60 gallon long tank in this post took an entire gallon). The unicorn rock sculpture in this post took two cans of spray foam at about $4 a can for comparison. It is in a 30 gallon hexagon tank. The stand for that by the way, with a rainbow effect, was done by painting an old wood stand black and using neon paint markers.
How to build a DYI foam fish tank background or caves method 1:
-Stack your foam pieces in the rough shape of your design. I recommend measuring your tank and sketching out your desired design. You can also place it in the tank to get an idea how it will look. In the pic below I had already begun the carving process.

-Use aquarium silicone to glue the chunks together. Place a heavy object on top and allow to sit overnight for a tight seal.
-Once dry, carve your desired shape. In my background I added lots of platforms, as this tank was for semi-aquatic newts. I used a kitchen knife to carve, pulling in quick downward motions until I got shapes I liked. This is a very messy process. Seriously, there will be tiny bits of foam everywhere. Opting for a small space, such as a bathroom tub with a shop vac handy is the easiest way to keep things contained.
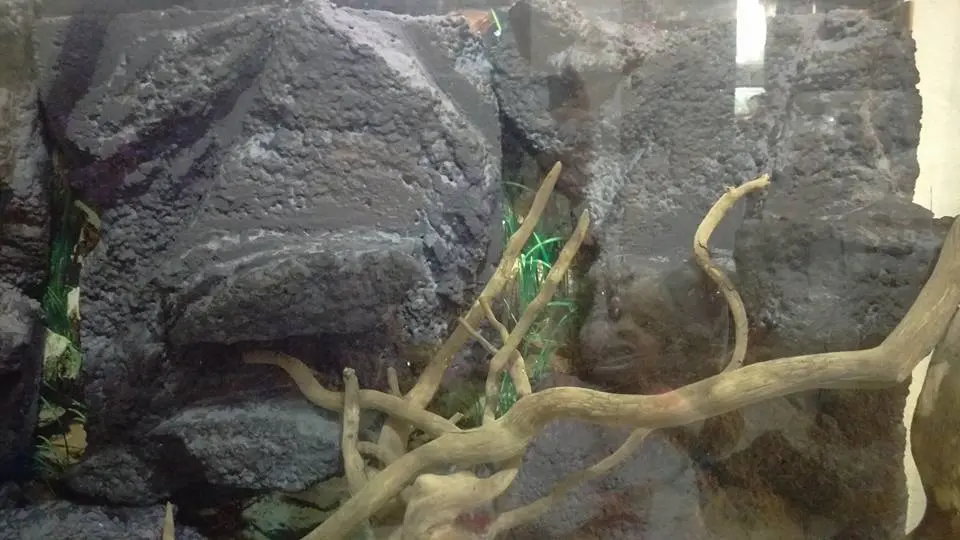
-Paint your creation with Drylok. In my case I used grey, then tinted the remaining paint in the gallon with black cement colorant and did a light brush over the surface to catch only the risen texture. You can get other colors to create more detail if you wish. Drylok requires no overcoat, once fully dry you can put this directly into your tank.
-To place the foam in your tank you need to adhere it. I siliconed mine to the glass itself (which means it can’t be removed), but I have seen other folks use nifty methods such as magnets to avoid this. I can’t speak to that process, because I took the easy route.
-Once the silicone is fully dry (give it 24 hours), you can fill your tank and begin to let it cycle.
How to build a DYI foam fish tank background or cave method 2:
Of the two, I found this method far easier and cleaner, but it would be more difficult to create platforms with spray foam. I would say method 2 is the way to go for caves, method one better for backgrounds, but you could also combine the methods.
-Create a work space by laying down parchment paper. The spray foam won’t stick to this, and it makes for easy clean up. You also want to wear gloves. Spray foam will NOT come off skin. Trust me, I tried everything from nail polish remover and vegetable oil to goo-gone. If it gets on your hands, you have to wait the week or two it takes to wear away.
-Sketch your design out and setup any accessories. In my case, I measured the height I wanted my unicorn skull in the tank, then hung it by fishing line from a stick at that height in my work area. This held it in place while I built up the foam rock around it.
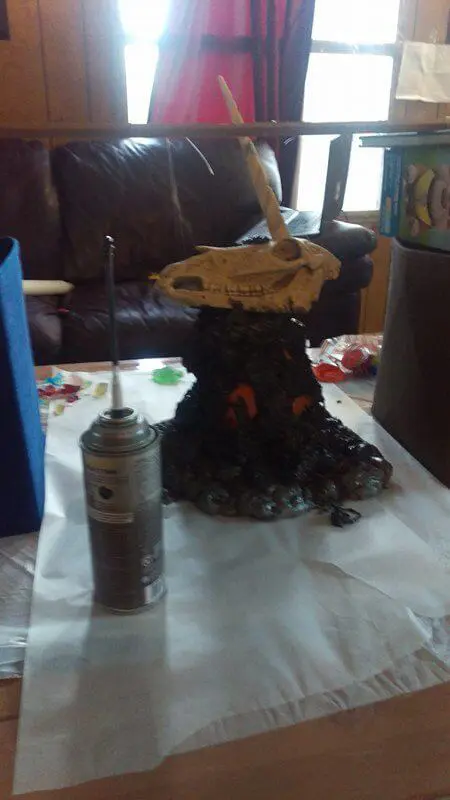
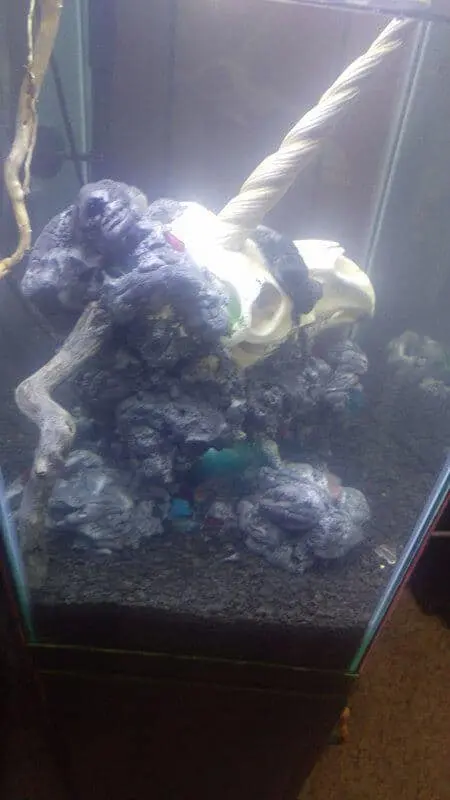
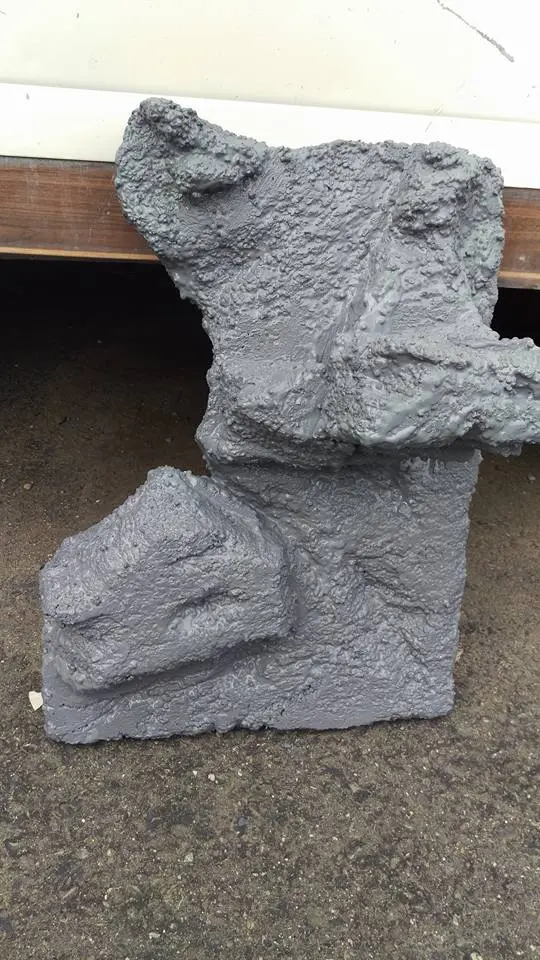
-Begin spraying the foam. You may have to work in layers. I sprayed out a base, placed a balloon on that base to create the hollow, then sprayed layers around the balloon until my skull was properly encased. I added beach glass as I went. The layers soft dry fairly quickly (30-45 minutes), but your entire project you’ll want to let dry at least 24 hours before putting in your tank.
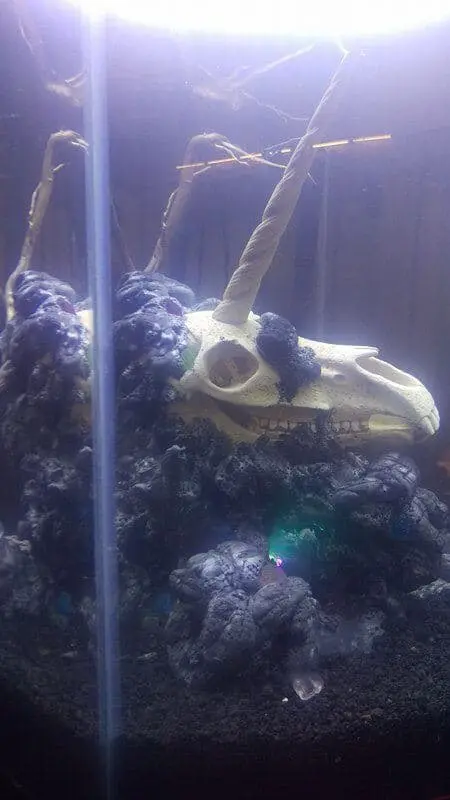
-Once fully dry, you can add texture to the foam to make it more realistic. I poked the surface (a lot) with a nail to create a coral-like effect (this is time consuming I’m afraid), smoothed surfaces with sandpaper, and used a sharp rock to create lines for the tide-swept look. The spray foam cave in my pictures is not painted at all. The sanded surfaces simply appear a lighter color because the top coat is removed.
-All that’s left after that is to silicone it to your tank and begin cycling. I will throw in here I originally attempted to build my foam cave on top of a flat, heavy beach rock, but it floated anyway. Spray foam is highly buoyant. You are welcome to try the rock method, but I recommend having aquarium silicone handy as a back-up plan.
Both of these tanks will be planted. I will update this post as I add plants, fish, and other critters so you can see how they progressed. If you likewise plan to create a planted tank, keep in mind a thick layer of special substrate is recommended as well as adequate lighting.
Skull newt tank with moss:
More pictures and a video of the unicorn tank (planted and stocked with glofish):