DIY Glitter Wall Paint Tutorial

Glitter walls? Yeah, so maybe the husband thought that was a little over the top, but what girl doesn’t want walls that sparkle, because, sparkles! So, of course, I thought, “somebody has to sell that,” and by “that,” I meant glitter wall paint, and somebody does, but holy walls that sparkle is it expensive, I mean $50$150 a gallon depending on the base color or maker, and here in Alaska, shipping was extra. I wanted baby girl to have a glitter wall, but, well, I’m cheap.
glitter wall
Next thought? Glitter paint additive. That would be cheaper right? Sure, a pack of glitter paint additive will run you about $12 on amazon with free Prime shipping– except it takes two packs per gallon for a “subtle shimmer” and 3+ for any real sparkle— after buying even cheap generic wall paint you’d still be looking at about $50 a gallon.

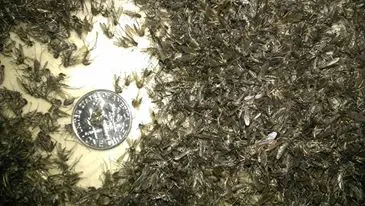
Finally, I had that eureka moment, a flashback to 8th-grade ceramics class, “glitter glaze! That’s the ticket!” I thought. Sadly, glitter glaze was $14 per 16 oz or $22 for 32 oz. I guess that makes sense being this glaze is actually intended for small craft projects.

Defeated, I settled for the 16 oz. I figured I could add some glittery swirls like a little fairy had gone fluttering across our daughter’s walls. When I went to do that though, I found a little covered a lot and was way more sparkly than I really wanted. I didn’t want like a bling wall encrusted in glitter—that would be over the top and into tacky.

I washed that small patch off, and then I watered the remaining glitter glaze down. I threw that entire 16 oz. bottle in a container I never wanted to use again (because not every girl wants sparkly poop) then added about a cup of water. Shockingly, that 16 oz + 8 oz water covered an 8 x 10 room! The effect was this awesome almost iridescent look. The glitter does not flake off when the wall is touched either. It didn’t even add a texture. I did have to do the whole room with a paintbrush, but with a 4 in. brush that still only took me about 45 minutes.

Total cost?

-1 gallon paint: $18
16 oz. glitter glaze $14
$32!

Alright, assuming you didn’t get bored with my narrative there and click back to Pinterest, I should probably throw some less chatty directions for this glitter wall project in here.

How to Make DIY Glitter walls (or a glitter wall)

1. Paint the room or wall as you normally would and allow it to dry.

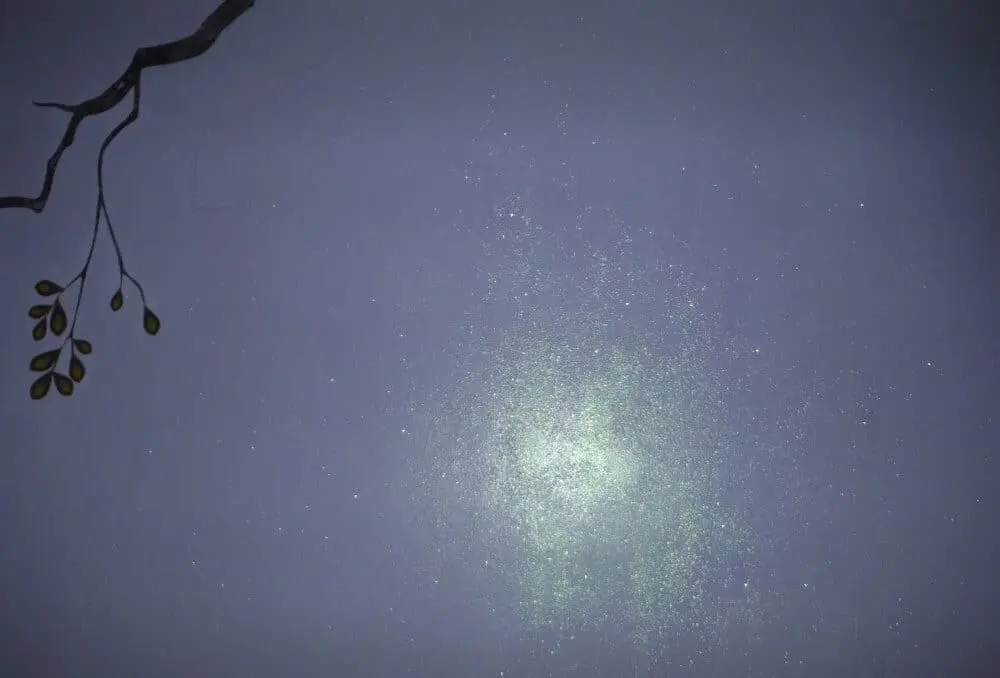
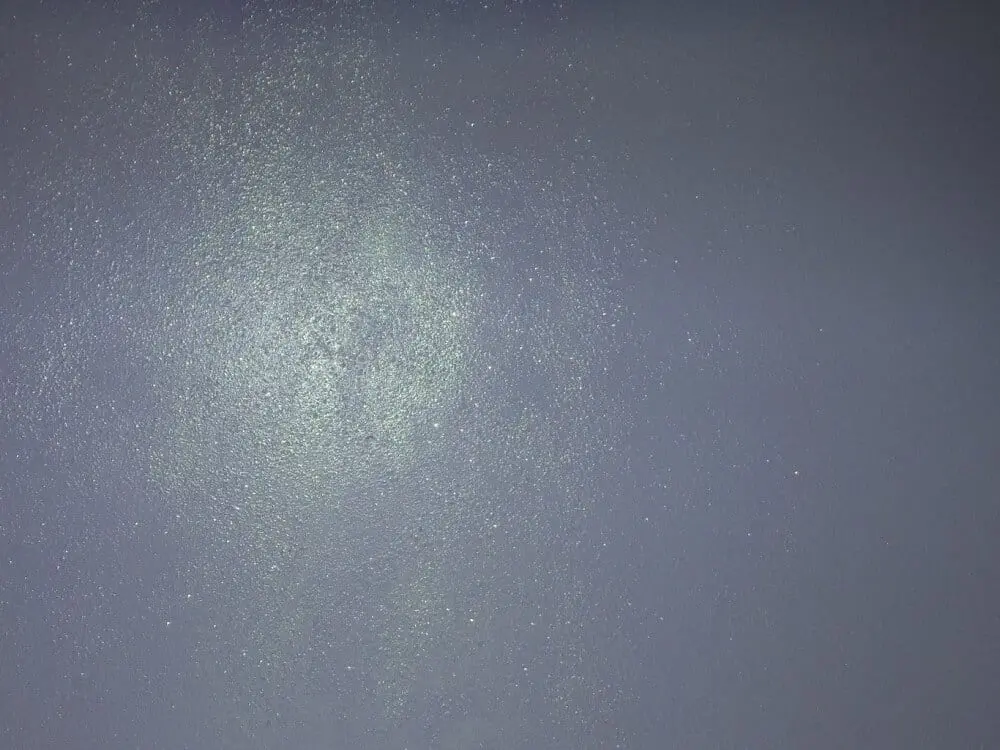
The paint color in our daughter’s room in the pictures is “lavender dream.” The color glitter in the glaze used in this case is silver and sort of a lime green, so keep that in mind when choosing a color— pinks, purples, lighter greens, white, or silver would all look great for the base.

glitter walls

2. Lay out drop cloths.

This is a messy project. I mean, you’re painting watered-down glitter glaze on a wall, unless you want glitter floors too, drop cloths are a must to minimize the mess. I used a sheet the kids had destroyed.

3. Mix your glitter glaze

I did 1 cup (8 oz) water to 16 oz of glaze, but if you want a stronger glitter effect, reduce the water. If you want even less shine, go a little more. You can do a test patch if you like. While the glaze is wet, it will come off with warm water. Coverage-wise, it looks much like it does wet once dry except you can’t tell where the brush strokes are and such.

As noted up there, a 16 oz. bottle mixed this way covered an 8 x 10 room with one small window and a door.

4. Paint it on the wall

I was not brave enough to try a paint roller on this project. I feared it would absorb all my glaze and I’d be stuck buying more. If you try it, drop us a comment and let the rest of the DIY glitter wall makers know there’s an easier way, but I used a 4-in. edging brush. Again, if you didn’t read the beginning of this thing, an 8 x 10 room took me about 45 minutes this way, ceiling to floor, full coverage.

5. Let it dry

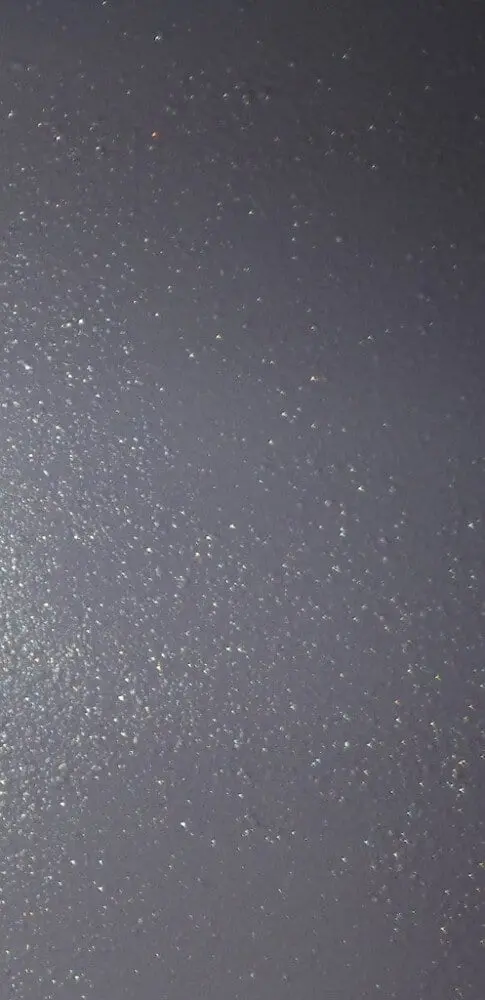
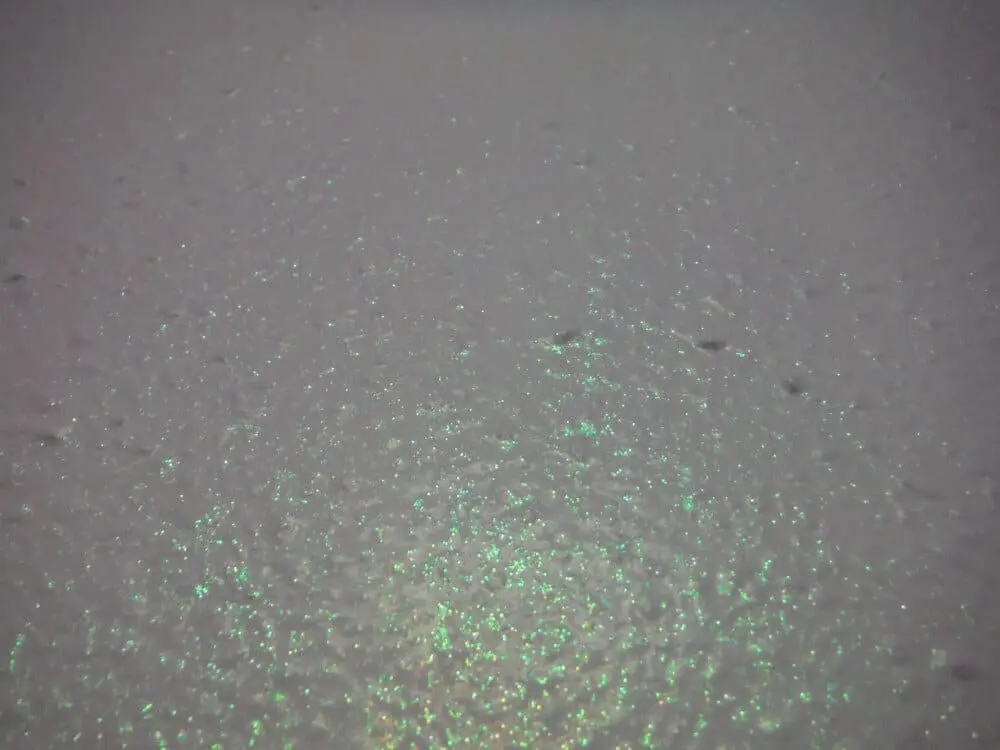
That’s it. Now you just sit back and enjoy the sparkle, which is way easier than trying to photograph these glitter walls was. Seriously, I could not capture how cool the final result ended up looking. These walls are purple at one angle, step two feet, the lighting makes them look a shiny silver-green like fairy wings. When the sunlight comes in it looks like her walls are covered in diamond flecks. I’d do this to my whole house if my husband wouldn’t kill me, because sparkle!

glitter wall diy diy glitter wall paint tutorial glitter wall paint

How to Get Rid of Mosquitoes

Sadly, my kids got my genetic tastiness to bugs, except they also got their dad’s high body temperature and like to run all over the place. We live in Alaska, where mosquitoes are the size of some state’s birds and are not in short supply. Those four factors combined mean my kids currently have so many bug bites they look like they have chicken pox. We’ve tried bug spray repellents, and they seem to not help one tiny bit. In my mind, that means it’s time to get creative and find new ways to get rid of mosquitoes.

Clearing the air

I wanted to get rid of mosquitoes without doing harm to the environment, so no method listed here involves harmful chemicals like foggers.natural mosquito repellants

-Eliminate breeding sources. If possible, you should reduce any source of standing water in your area. Granted you shouldn’t go trying to drain lakes or anything, but things like next seasons tires filled with water should be dumped and stored where they can’t collect water to provide breeding sites. Keeping your grass trim will also help.

While I don’t have a lake near me, in areas where mosquitoes are killing people they use a natural bacteria called Bacillus thuringiensisisraelensis (Bt). It infects mosquito larvae, but doesn’t harm the rest of the environment. You can apparently buy these in a product called dunks at most garden stores. I also had success finding it for sale online for around a dollar a dunk. Keep in mind, however, that mosquitoes are part of the food chain. If you have a pond right by your front door, on your property, that’s one thing, but don’t go spiking all the lakes in your area.

-Plant protection. I love to garden and it turns out there are a few plants that supposedly repel mosquitoes. It certainly can’t hurt. Several herbs helpful to cooking, including basil, lemongrass, rosemary, and garlic, are on the natural repellent list. Catnip, citronella grass, tansies (also called mums), and finally, my favorite, the queen of pest control, marigolds are also said to be effective. Marigold repels basically every “bad” bug and attracts pollinators for your garden to boot.

-Recruit help. Encouraging bird and bats to nest nearby is an excellent natural and ongoing bug reduction tactic. Putting out bird feeders and nesting boxes is a great start, though other options will probably be specific to your local help. For instance, certain types of feed are more likely attract different bird species. Smaller birds like sparrows and finches that have a primary diet of insects are best.

-Get high tech. We did eventually also buy a Mosquito Magnet. These release a plume of C02 to attract mosquitoes, and then suck them in and trap them. They are semi-expensive, we got ours off Amazon as a warehouse deal for about $200, but you should see the results. The pic below was from about 12 hours. Tip, if you have high collection like this where the bugs are still alive when you trap is full, place the collector in the freezer to demobilize the skeeters so you an empty it into a ziploc to throw away. Skip homemade traps, they are a waste of yeast.

mosquito magnet

Protect yourself

Next, I looked into effective ways to get rid of mosquitoes on your person. My kids have super sensitive skin, so no chemicals for me.

-Citronella. When you do go outside, light some citronella candles. They may let off an unusual smell, but they really work. You can think of them like stinky tiki-torches.

-Organic bug sprays.This article could get long if I listed them all, but a quick Google will bring a wealth of home made bug repellent recipes, many which can be made from the plants listed above. You may have to do some trial and error. The reason some people have success with some recipes, and others don’t, is that each person has a different body chemistry and every area has different species of biting bugs.

-Be unattractive. Finally, you can make an effort to make your kids and yourself less attractive to mosquitoes. This means wearing light colored clothing, avoiding scented hygiene products and perfume, and trying your best to stay cool. Fans on low-wind days can help both to mask your high heat signature and to blow away flying bugs-literally.

Too Many Toys! Reducing and Organizing Your Child’s Toy Pile

Of all the age stages kids go through, I’d argue little kids have the most stuff. Being in that in-between age where some for younger kids are still of interest, but toys for older kids are also appropriate, my kids have enough toys for a daycare between the four of them. Also trying to contain those toys to a fairly small space, this makes toy storage and removal an important subject around my house.too many toys

Too many toys: when is it time to ditch a toy?

I use a few rules as far as what to keep, donate to charity, or flat out throw away. I usually go through my toy box every few months in rounds to thin out the pile.

Too many toys clean-out round 1: Broken or non-functional

The first thing I do is go through and find any toys that are broken. Toys that are broken beyond repair hit the trash. Broken, but possible to repair toys get sorted in to two piles. If my kids haven’t played with it since the last sorting, I donate it. If it was once a beloved toy until it broke, I make an effort to make it functional again. In many cases, it’s simply a dead battery situation. If can’t be fixed by me, I donate it.

Too many toys clean-out round 2: The land of forgotten toys

As stated above, any toy that hasn’t seen play time since my last sorting (usually 4-6 months ago) broken or not it’s clearly no longer of interest to my kids. I don’t place a time limit on baby toys. You’d be surprised what a toddler can find to do with a baby toy and even learn from it. I either place toys in storage, as I do plan to have more children, or I donate them to charity when they become no longer cool. Sometimes, when I pull out toys to sort them, I find my kids are suddenly interested in them. This brings me to an excellent way to cut down on your toy pile, put half of it away. If you rotate the toys your child has available to play with, when you switch, all the toys are new again like Christmas any time you want it! You get less of a toy pile and your kids get the joy of variety– it’s a win, win. I also store seasonal toys such as sand buckets and sleds.

What sort of things can I do for toy storage while allowing for easy kid access?

Even after round 1 and 2 of operation too many toys clean-out on my kid’s toy pile, I still have quite the collection. This called for round 3, organization. The issue is, many storage options can put toys out of sight, which may be where you want them, but many kids are of the I-play-with-it-if-it’s-there mindset. If they don’t see toys, they won’t play with them. This means finding storage solutions that keep toys visible, but organized.

Clear pull out drawers:

You can find these in most department stores. I find clear storage bins work best for things such as legos, building blocks, and other little but numerous small toys. The clear bin makes it possible for your child to remember they exist and keeps them easily accessible, but also well contained. Clear storage drawers also come in a wide variety of sizes and often stack. They can be stashed under beds, stacked in corners, even used as tables for other toys. You may find screwing the base to the wall or floor helps prevent your child from using bins as stepping stools to get into up high no-nos and deters entire drawer dumping mischief. These clear drawers can also be great when you are teaching a pre-schooler to read by adding labels together.

Hanging shoe racks:

You’ve likely seen these. It’s a piece of cloth with pockets for shoes that hangs up. These can be used for toys as they remain visible but are off the floor. Shoe pockets work best for soft toys, such as stuffed animals. You can also get stuffed animal corner hammocks or make one out of a simple sheet.

Toy buckets:

For bigger toys that don’t fit well into small tubs, this is about the best you can do. Your child will still have to dig to get to the toy-treasures at the bottom, but it at least gives you somewhere easy to toss toys during clean-up. Buckets are inexpensive and simple to use. Most department stores sell them for less than $10 each. Later, you can step up to toy chests when pretend play becomes more popular (a game of pirates makes toys chests the coolest thing ever.)

At our house, the kids also have book shelves, not only for their books, but for some of the larger toys that sit well on shelves like super-hero houses and remote control cars.