5 Easy Pie Decorations and Designs: Chocolate, Cookie Cutters, and More

I’m pretty sure the point of Thanksgiving is actually pie—or perhaps thankfulness for pie. If you’re one for making your pies as pretty as they are delicious, you might be on the lookout for easy pie decorations or creative pie designs to beautify your carbs this year, and we’ve got a few ultra-easy options to share. By easy, I mean require no artistic ability and are fairly quick to implement.

Chocolate Pie Decorations

The first pie design idea we have for you is to create chocolate pie decorations. This technique works best for pies without a top crust that, well, won’t taste bad with chocolate. You can use milk, dark, white, or even colored chocolate—the process is the same on all counts.

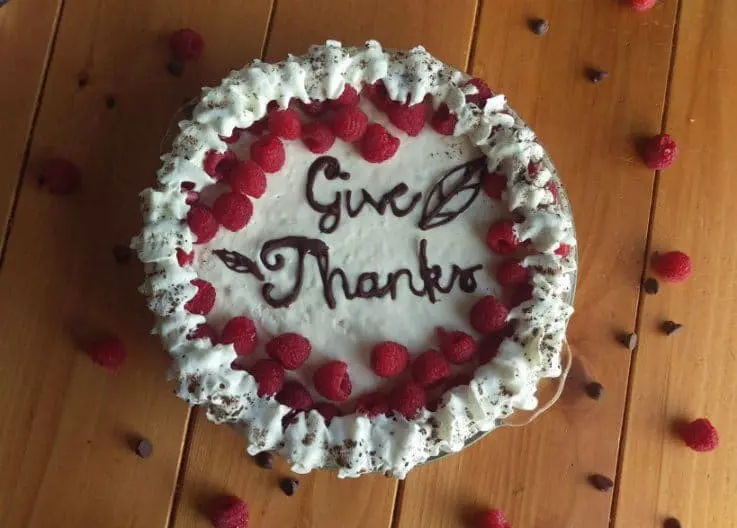
First, find or design a decoration you like. For example, in the pie I made below, I simply used a text editor (PicMonkey) to write, “Give Thanks” then added a small leaf. You can also find images by search, but be sure to look for wide-line art type images that will be easy to trace. You’ll also need to resize your image large enough to suit your pie.

pie design pie decorations chocolate trace

For reference, every inch is 96 pixels. So, if you want your image to cover an entire 9.5-inch pie, for instance, you’d crop the design close to the edge and set the pixel size at 912. If you want the pie decoration centered, just set the pixel size at 912, but leave black space between the canvas edge and your image.

Print out your image and tape it to a firm surface that will fit in your freezer and cover it with a sheet of wax or parchment paper. I often use a hardback book—this technique is also amazing for doing birthday cake lettering!

Once your image is ready, simply microwave chocolate chips at 10 to 20-second increments stirring each time until the chips are melted and smooth. Be careful not to overheat your chocolate, as it will clump. Transfer the chocolate into a decorating pen (I have this one), trace your image, and pop the whole thing in the freezer for at least 30 minutes.

Once the chocolate is firm, arrange your decorations on your pie as desired—but be careful, the heat of your hands can cause thin spots to melt. Chocolate makes an excellent decoration for chocolate cream pies and cheesecakes (the pie pictured is cheesecake cream pie with raspberries).

Stencil Pie Designs

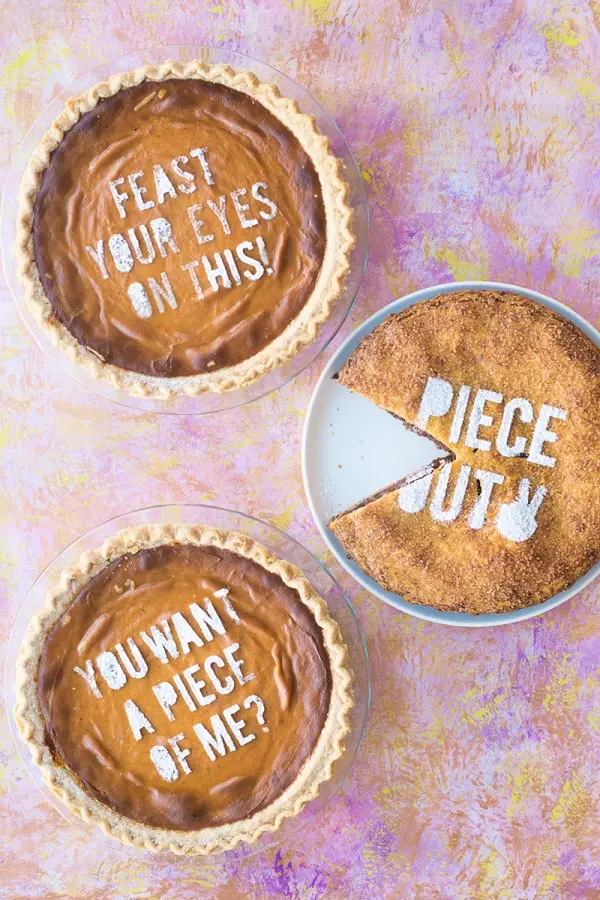
Another option for top-crust-free pie designs (though it will also work with crusted pies) is to use stencils. Stencils are a very easy solution to decorating crustless pies. Just find or cut out a design you like and resize it as specified above (a razor blade with some poster board will do the trick or you can use a cutting machine) and then place the stencil over your pie and sprinkle with spices, powdered sugar, or another powdered topping of your choice. Studio DIY provides an excellent example of this method. Stencil pie decorations are a great alternative for pies that don’t jive as well with chocolate, such as key lime or pumpkin.

Pie Decorations Pie Designs


Cookie Cutter Pie Designs

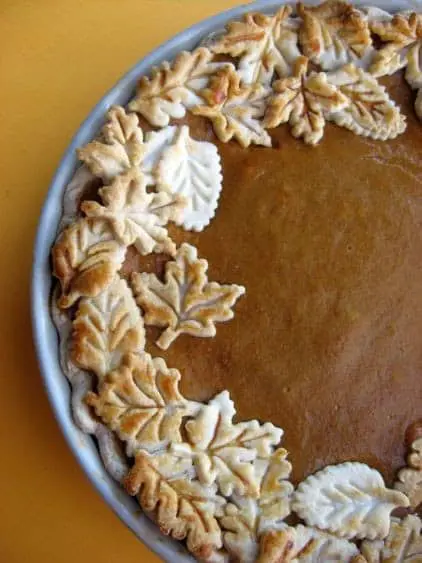
Moving on to top-crust only pie designs, cookie cutters are an ultra-easy pie decoration method. Simply take some pie cookie cutters to a pie crust and arrange artistically—fall leaves are a popular option such as in this gorgeous pumpkin pie by ShareAlikeCooking. Additionally, you can embellish your design with braided or decorative pie crust edges.

Pie Decorations Pie Crust Designs Cookie Cutters

Painted Pie Crust Designs

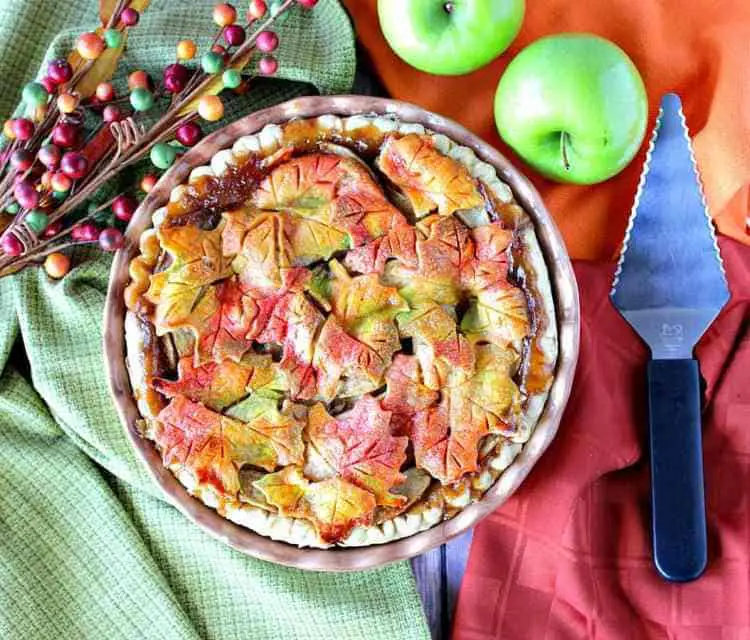
Another easy way to either add a little flare to decorative pie crust is to paint decorations with food dye. This method combines well with both braided crusts and cookie cutter pie crusts. I absolutely love the marbled look on this autumn leaves apple pie by Kudos kitchen.

You don’t necessarily have to use a fancy crust to use this method though. You could also use stencils, or if your free-hand game is not too shabby, you can also paint on lettering or designs of your choosing.

Imprint Pie Crust Designs

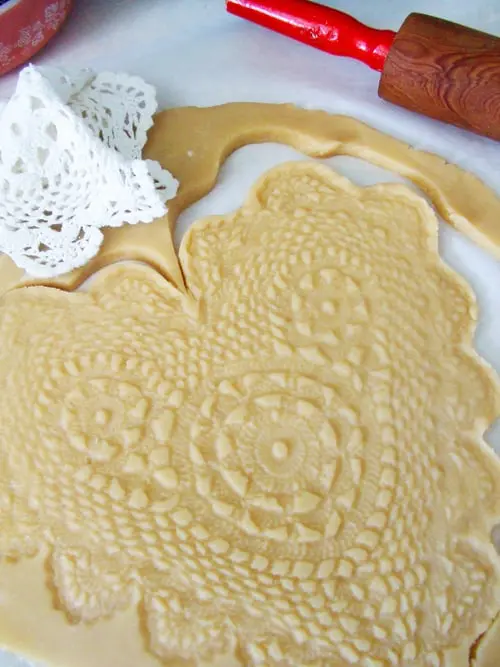
Finally, even easier than cookie cutter crusts are imprint crusts. This method literally involves just rolling over your dough with an imprint roller—though you can also make your own by rolling textured materials into your pie crust, such as a doily or other fabric as seen in these doily sugar cookies by Wildwood Collective. Side note, doilies can also make neat pie stencils.

Pie Decorations imprint

We hope these easy pie decorations for those with no artistic skill have helped make your spread just a bit more creative this year. Did we miss a cool technique you’ve used? Let us know in the comments!

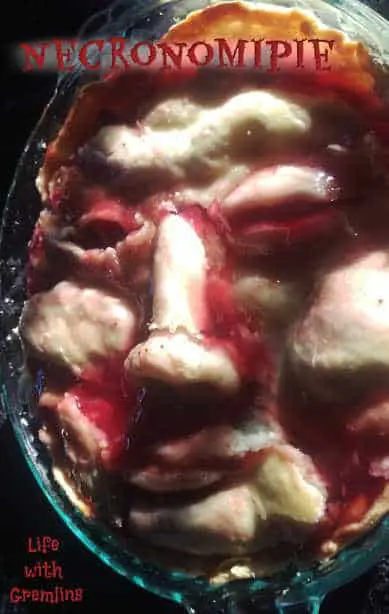
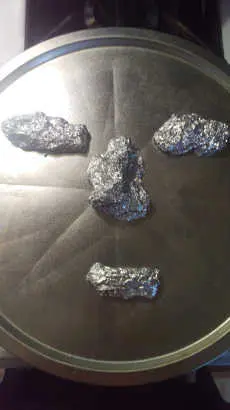
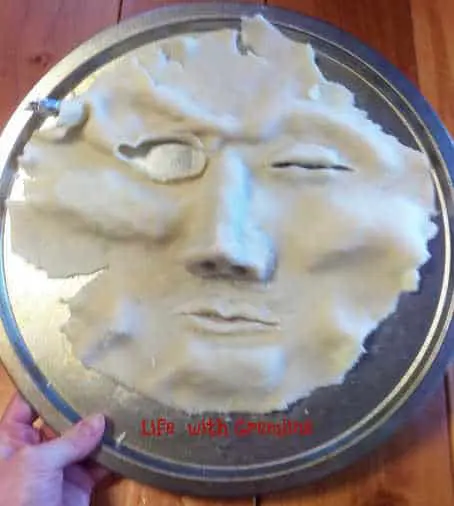
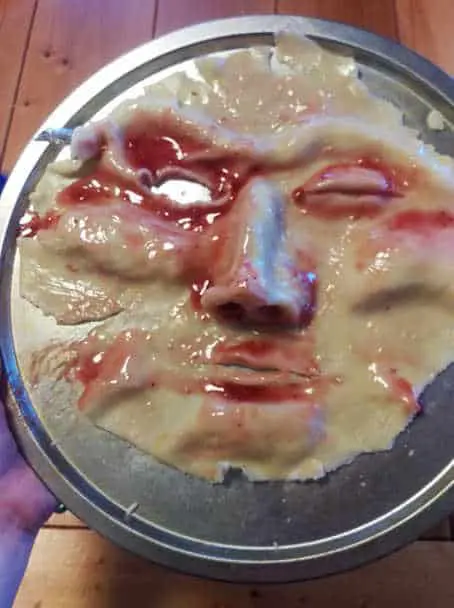
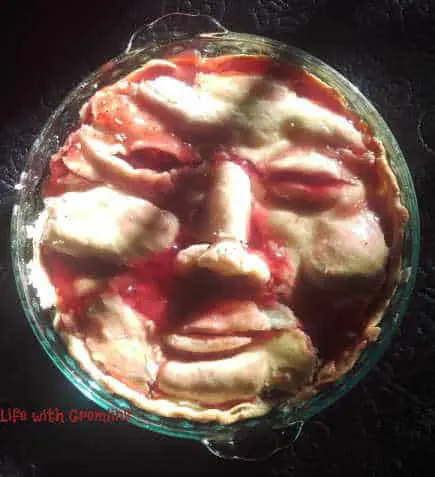
Not looking for Thanksgiving pie decorations? Check out our awesome Halloween Face Pie

Halloween Desserts: Face Pie, The Necronomipie

While I’ve pretty much locked in meatloaf head as my go-to savory bring-it, I’ve tried quite a few Halloween desserts and just haven’t found one that was worthy of repeating yet—until now. Looking for Halloween baking ideas, I ran across these really creepy pie faces and was bummed to discover they were made of latex and foam. Not to be discouraged though, I proclaimed, “I could totally do that with real pie,” and I did. The result was not exactly like the not-food versions, but definitely sufficiently creepy and relatively easy to boot.

I give you, face pie, the necronomipie.
 face pie halloween desserts necronomipie

Pictured is cherry, but you could easily do this with strawberry or triple berry to keep that red filling look. I might try a chocolate cream pie or even cheesecake with a top cherry layer in the future as well. You could do chicken pot face pie even, but I’m not sure if gravy would look as neat on the pie face and, well, Halloween desserts are more fun anyway.

Assuming you do cherry, you don’t need much. I used two pre-made pie crusts, canned cherry pie filling, and an egg. You could, of course, also make your own pie crust and filling. The bottom of this pie is sort of irrelevant to the face-pie effect, so you can use whatever recipe for that you like.

To make the face pie top crust, you’ll need a butter or pastry brush, a sheet pan with a flat edge (I used a pizza pan, but something like a spring-form pans base would work too), and tin foil.

Start by building a tin-foil support structure. Pictured you can see my rough nose, chin, and cheekbones. I also added a little brow and lift in the closed eye after I took the photo (added in the artist process). These are also just balled up tin foil.

halloween desserts face pie

I’ll note here that I didn’t grease my surfaces, and everything came loose just fine except the nose. You can see in the pie face where the nose even cracked a bit as I removed it from the frame. This is probably because building the nose requires some pushing and smoothing of the dough (have it at room temp btw to ease that process). Next time I make this I plan to try greasing it to see if that works out better.

After you’ve got a frame worked out, drape a single pie crust over it and begin building your face. I used a kitchen knife to cut out one eye socket, a slit in for the other, and cut out the mouth shape. I made the edges a bit ragged and used the cuttings from that to build up a bit around the eyes and lips as well as build the nose. It helps during this part to look at a picture. It’s OK if it’s not perfect, the end product is supposed to resemble a skinned face on a pie—most people aren’t going to look their best in that scenario.
Halloween desserts pie face

Once you’re happy with your face, paint the entire surface in an egg wash (just a beaten egg). Then go back over the cheekbones, highlight of the nose, and brow with a bit of cherry filling on your brush. Think of it sort of like applying makeup.

Apply heavier around the eyes and in crevasses. I actually used a spoon for the heavier parts. You could make this darker by trying red food coloring, I alas somehow have more than 50 food dye colors in my cabinet but not a single one of them was red.
pie face top crust

Then you just bake your pie face following the instructions on your package or in your recipe. Once it’s done use a spatula to carefully lift each edge and remove the tinfoil frame. This is a somewhat delicate process, go slow. It will still be a bit soft and flexible in spots.

The final step is to slide your pie face onto your finished base. I do mean slide, literally. I hovered the pan I cooked it on over the pie and carefully slid it on to the surface. Once on your pie, you can do some adjusting. For instance, I pushed some spots into the filling to give my face pie some ooze and spooned more in other spots. It’s sort of up to your own artistic touch as no two tries at Halloween desserts such as this are going to be the same.

We’d love to see any tweaks you make in comment or hear about what worked and didn’t work for you if you try this. While this is something I will be making again, like all Halloween desserts, it’s not something I have or probably will make a lot. Trial-and-error by comment is always welcome.

pie face Halloween desserts Halloween desserts pie face Halloween desserts pie face Halloween desserts pie face Halloween desserts pie face

The Best Chocolate Chip Cookies: Easy Recipe

Everyone loves chocolate chip cookies, of course, not everyone loves their chocolate chip cookies the same. Some prefer crispy, thin milk cookies. Some like chewy, soft cookies. Others opt for fluffy chocolate chip cookies like little clouds of carbs. Personally, I like a moist cookie somewhere between chewy and fluffy. I’ve read and tried a lot of recipes, and over time, using an understanding of the science of chocolate chip cookies, developed what I thought was the best chocolate chip cookies.the best chocolate chip cookies recipe

Then one day I suffered an epic fail. I started my dough without checking I had all the ingredients. I ended up 2 eggs shy for my 3-egg recipe. Naturally, this led to a Google-fest of “baking egg replacements, and “no-egg cookies.” The Internet did not disappoint in options–the list is extensive–but honestly adding something like apple sauce to chocolate chip cookies would undeniably change the flavor, so I didn’t really like any of the answers I found.

I decided to take a gamble and try cream cheese. I had seen cream cheese chocolate chip cookie recipes before, but they usually contained the normal egg count. The result was freakin’ incredible. I had created a cookie that was rich, soft, chewy, sort of fluffy, and even better stayed soft for a prolonged period of time. I have not had anyone try one yet that didn’t agree they are now indeed the best chocolate chip cookies in the universe. Better this is a one-bowl easy recipe. Want to try?

The Best Chocolate Chip Cookies Recipe

Ingredients:
4 sticks softened butter (not microwaved)
8 oz. cream cheese
2 cups table sugar
2 cups brown sugar
4 tablespoons real vanilla extract
1 egg
1 teaspoon salt
a quarter shot of warm water mixed with 1 teaspoon baking soda and 1 teaspoon baking powder
6 cups flour
Approximately 4-5 cups chocolate chips (I usually eye-ball this step and just add chips to my desired weight-gain level)

Instructions:

Add 4 sticks softened butter (not microwaved), 8 oz. cream cheese, 2 cups sugar, 2 cups brown sugar into a large bowl.
Mash it all together with your hands until harmonious, because ain’t nobody got money for a kitchen aid (you, can, in fact use a kitchen aid, I’m just cheap).

Add 4 tablespoons real vanilla extract, 1 egg, 1 teaspoon salt, and a quarter shot  (I literally use a standard shot glass, like for alcohol) of warm water mixed with 1 teaspoon baking soda and 1 teaspoon baking powder. Combine.

Add 6 cups flour. Combine some more. Mix in chocolate chips.

Chill dough either in the freezer or outside if you live someplace dark, cold, and chocolate-chip-cookie needing like me in Alaska.

Once cool, roll into balls. I have done smaller cookies and large, the only difference is the bake time so you’ll have to watch your first batch. The time I present here is using balls slightly smaller than a golf-ball.

Bake for 14-16 minutes or until just golden brown on the edges at a preheated 325. Keep dough chilled, rinse cookie sheets in cool water between batches (yes, this matters. A hot pan will affect your cookies.)

Allow to rest for 24-hours for the best flavor. Fresh from the oven these are very, very moist and soft. I usually hide mine in a cake storage tub (because this recipe makes a lot of chocolate chip cookies and honestly, I have never tried halving it) so the kids don’t eat them all before they are at their yummiest.

I’d love to hear your thoughts on this recipe and any alterations you may have tried. Who knows, maybe I’ll end up with a better than the best chocolate chip cookies recipe.