DIY Foam Aquarium Backgrounds and Caves: Easy Fish Tank Decorations

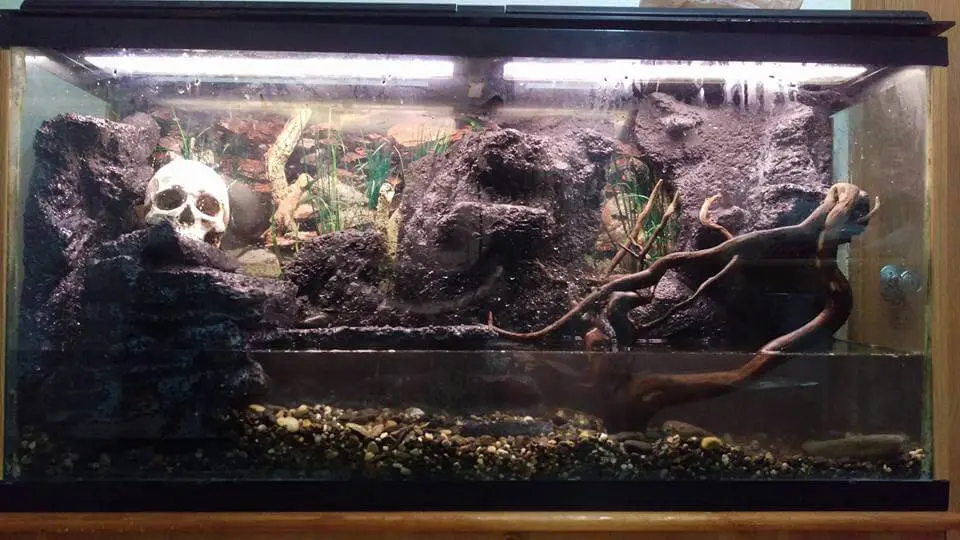
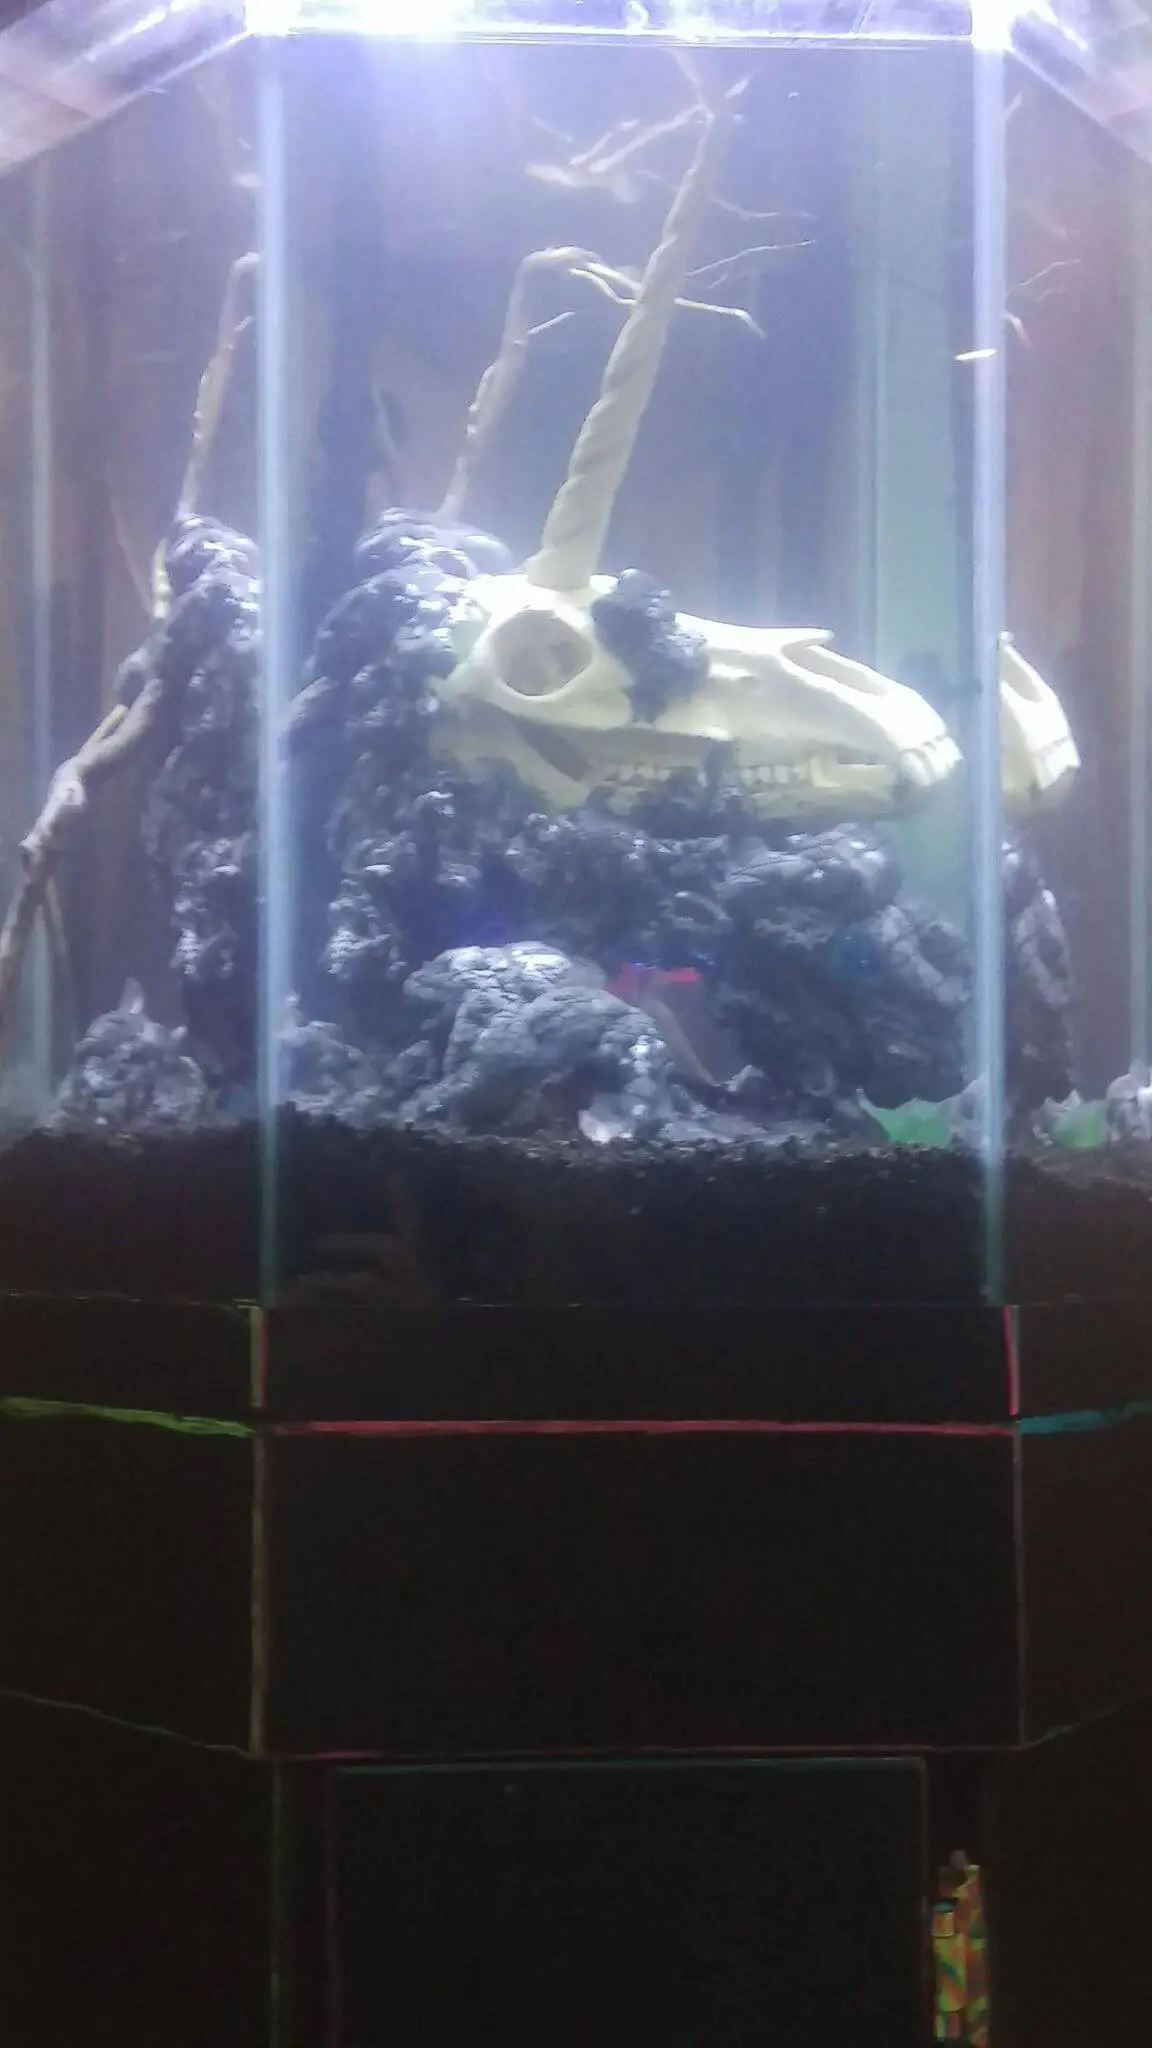
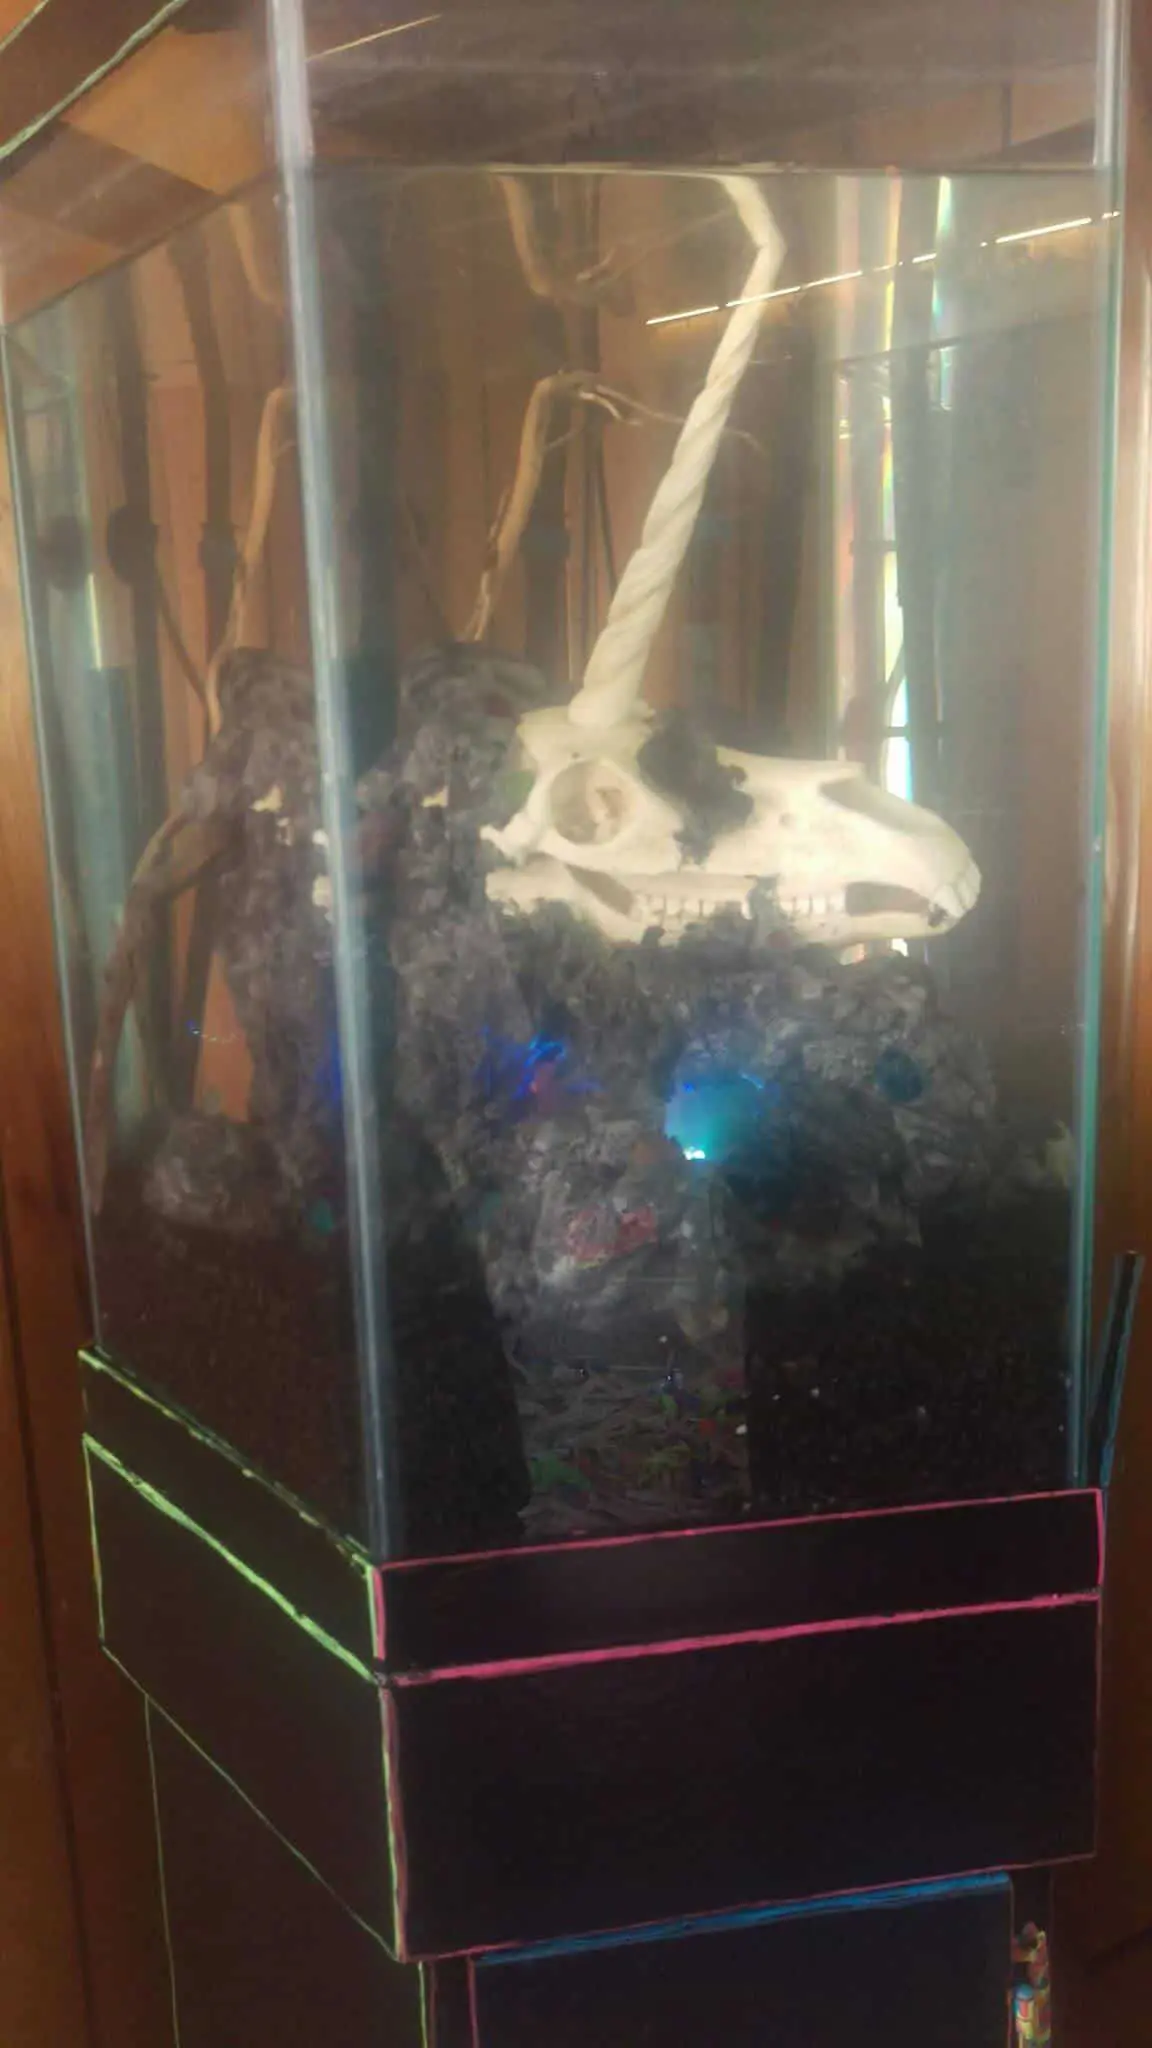
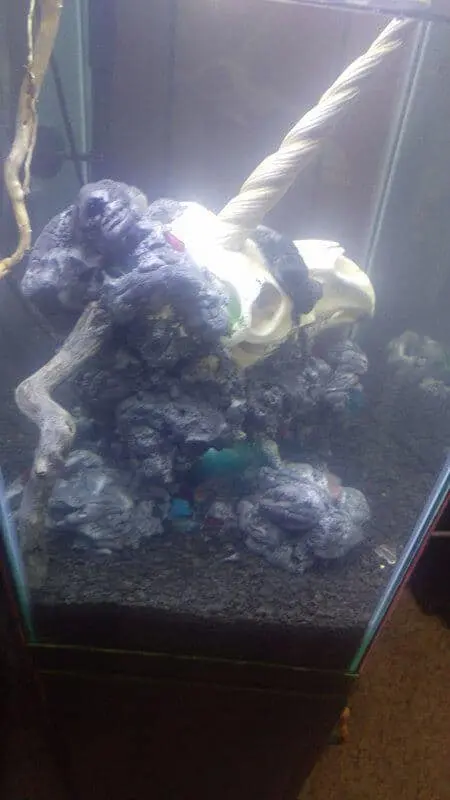
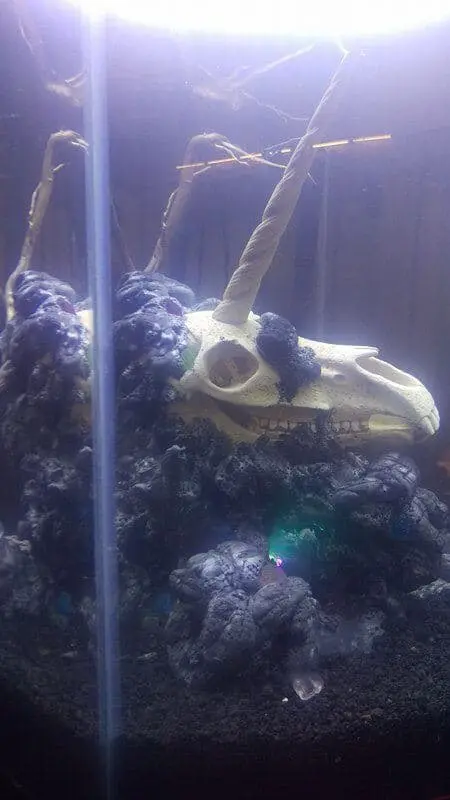
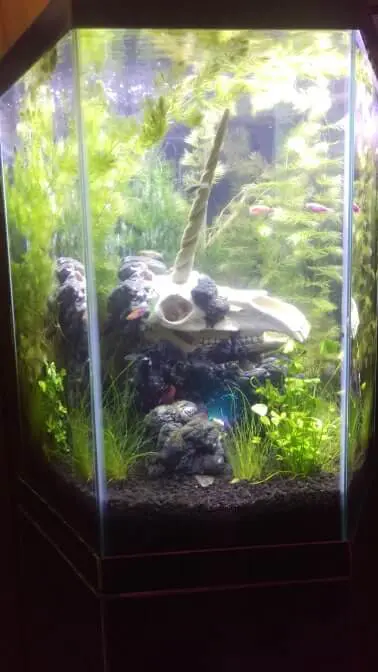
The first time I saw this awesome realistic unicorn skull, my immediate thought was, “that needs to be in a fish tank!” and not just in a first tank, it needed to be the center piece. I got this elaborate vision of a rock encrusted fallen unicorn turning all the neighboring fish into rainbows. The answer to making that vision a reality was a DIY 3D foam fish tank background or cave I suppose in this case. I have done a full foam background before, but I lost most of my process images in a phone failure. I will include instructions for both methods, but images for the full background version will be fewer.

Alrighty, first off, what do you need to make a DIY 3D aquarium background or cave?

As mentioned there are two popular ways. One involves building a foam block from foam slabs, carving that foam into your shape, and then sealing it. The second involves spraying out your shape with pond spray foam and embellishing that to look more like your desired shape (rock is the most popular choice, but people also sometimes do trees). The full 3D background I did was the slab method, the unicorn cave was done with spray foam.

For the slab method:
-Foam slabs: I got mine free from a furniture store trash can (with permission).
Aquarium silicone
Drylok and cement colorants: I used grey Drylok and tinted it with black to create two tones.
-Sharp knife
-Shop vac

For the spray foam method:
Pond and landscape spray foam
-Parchment paper and gloves
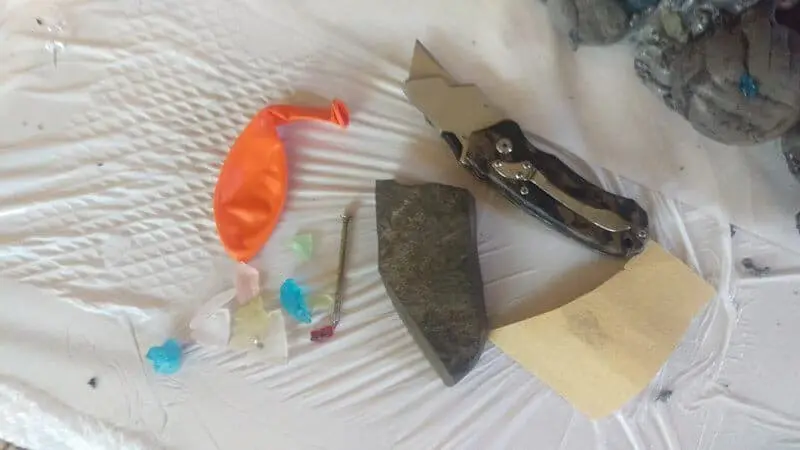
-Tools for design such as a nail, sand paper, jagged rock, razorblade

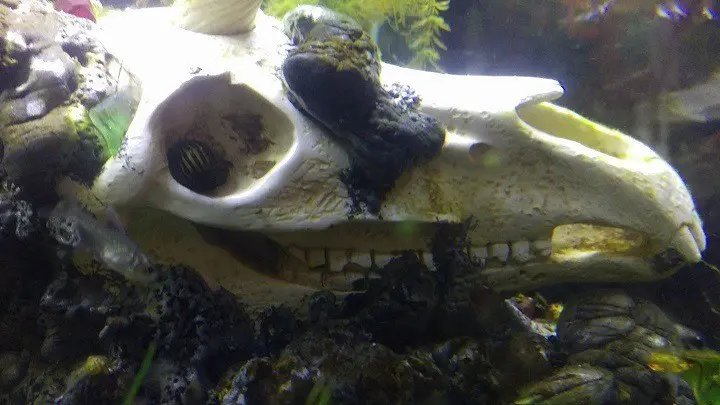
With either method you can accessorize. My full 3D fish tank background used a resin skull and the output house of a canister filter to create a water fall. My unicorn cave obviously used a unicorn skull, but also beach glass “jems” and a color changing LED disc. Inserting the skull and creating a cave also required a balloon and fishing line.

Cost wise, the spray foam method is cheaper. This is because Drylok is relatively expensive ($25-30 a gallon, the 60 gallon long tank in this post took an entire gallon). The unicorn rock sculpture in this post took two cans of spray foam at about $4 a can for comparison. It is in a 30 gallon hexagon tank. The stand for that by the way, with a rainbow effect, was done by painting an old wood stand black and using neon paint markers.

How to build a DYI foam fish tank background or caves method 1:

-Stack your foam pieces in the rough shape of your design. I recommend measuring your tank and sketching out your desired design. You can also place it in the tank to get an idea how it will look. In the pic below I had already begun the carving process.

DIY Foam fish tank aquarium background

-Use aquarium silicone to glue the chunks together. Place a heavy object on top and allow to sit overnight for a tight seal.

-Once dry, carve your desired shape. In my background I added lots of platforms, as this tank was for semi-aquatic newts. I used a kitchen knife to carve, pulling in quick downward motions until I got shapes I liked. This is a very messy process. Seriously, there will be tiny bits of foam everywhere. Opting for a small space, such as a bathroom tub with a shop vac handy is the easiest way to keep things contained.

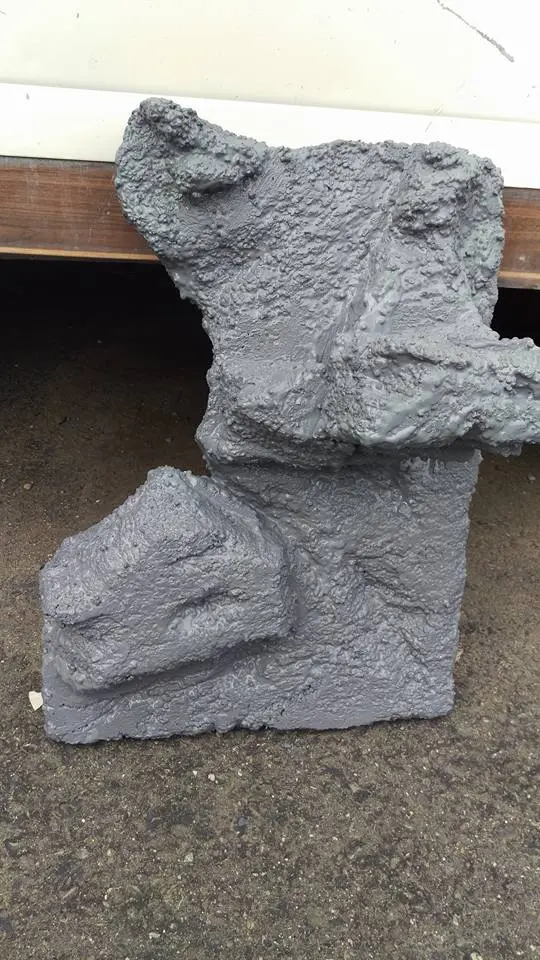
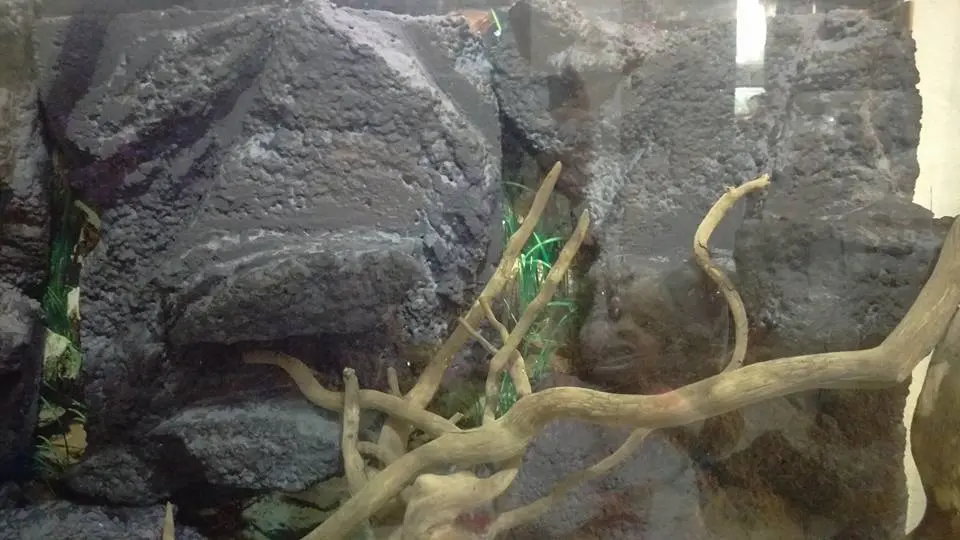
-Paint your creation with Drylok. In my case I used grey, then tinted the remaining paint in the gallon with black cement colorant and did a light brush over the surface to catch only the risen texture. You can get other colors to create more detail if you wish. Drylok requires no overcoat, once fully dry you can put this directly into your tank.
DIY Foam fish tank aquarium background
First layer plain Drylok


DIY Foam fish tank aquarium background
After tint layer

-To place the foam in your tank you need to adhere it. I siliconed mine to the glass itself (which means it can’t be removed), but I have seen other folks use nifty methods such as magnets to avoid this. I can’t speak to that process, because I took the easy route.
DIY Foam fish tank aquarium background

-Once the silicone is fully dry (give it 24 hours), you can fill your tank and begin to let it cycle.

How to build a DYI foam fish tank background or cave method 2:

Of the two, I found this method far easier and cleaner, but it would be more difficult to create platforms with spray foam. I would say method 2 is the way to go for caves, method one better for backgrounds, but you could also combine the methods.

-Create a work space by laying down parchment paper. The spray foam won’t stick to this, and it makes for easy clean up. You also want to wear gloves. Spray foam will NOT come off skin. Trust me, I tried everything from nail polish remover and vegetable oil to goo-gone. If it gets on your hands, you have to wait the week or two it takes to wear away.

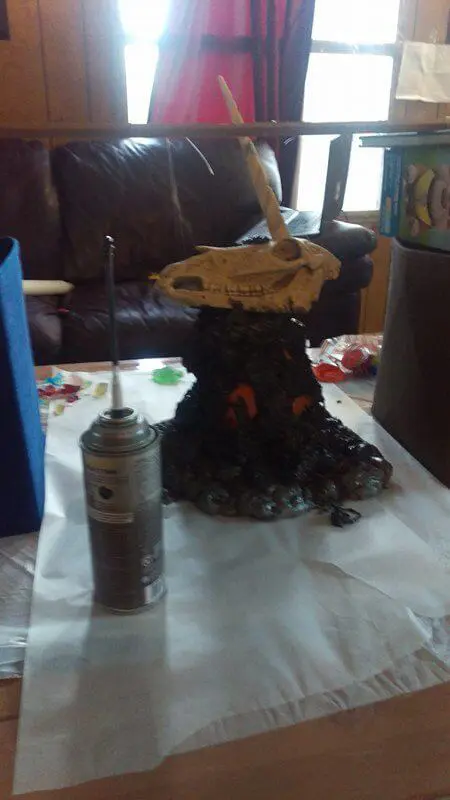
-Sketch your design out and setup any accessories. In my case, I measured the height I wanted my unicorn skull in the tank, then hung it by fishing line from a stick at that height in my work area. This held it in place while I built up the foam rock around it.

DIY Foam fish tank aquarium background cave

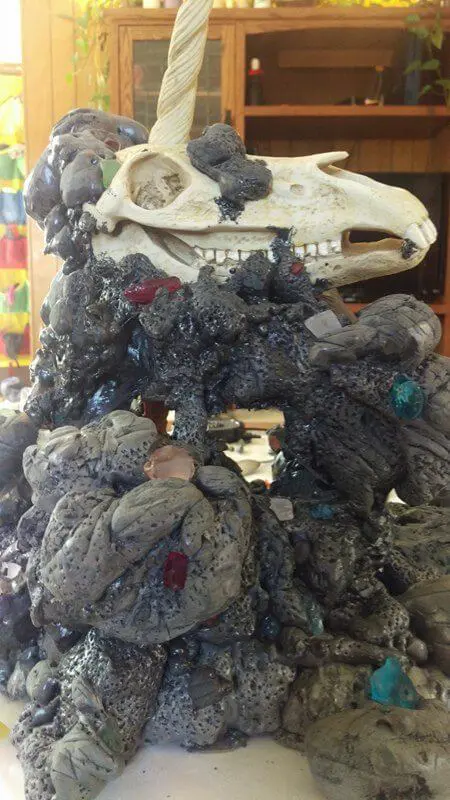
-Begin spraying the foam. You may have to work in layers. I sprayed out a base, placed a balloon on that base to create the hollow, then sprayed layers around the balloon until my skull was properly encased.  I added beach glass as I went. The layers soft dry fairly quickly (30-45 minutes), but your entire project you’ll want to let dry at least 24 hours before putting in your tank.

-Once fully dry, you can add texture to the foam to make it more realistic. I poked the surface (a lot) with a nail to create a coral-like effect (this is time consuming I’m afraid), smoothed surfaces with sandpaper, and used a sharp rock to create lines for the tide-swept look. The spray foam cave in my pictures is not painted at all. The sanded surfaces simply appear a lighter color because the top coat is removed.

DIY Foam fish tank aquarium background

-All that’s left after that is to silicone it to your tank and begin cycling. I will throw in here I originally attempted to build my foam cave on top of a flat, heavy beach rock, but it floated anyway. Spray foam is highly buoyant. You are welcome to try the rock method, but I recommend having aquarium silicone handy as a back-up plan.

Both of these tanks will be planted. I will update this post as I add plants, fish, and other critters so you can see how they progressed. If you likewise plan to create a planted tank, keep in mind a thick layer of special substrate is recommended as well as adequate lighting.

Skull newt tank with moss:

More pictures and a video of the unicorn tank (planted and stocked with glofish):

DIY foam fish tank cave unicorn DIY foam fish tank cave unicorn DIY foam fish tank cave unicorn DIY foam fish tank cave unicorn
DIY foam fish tank background unicorn planted tanknerite snail in unicorn fish tank skull eye

Terraria Cake Tutorial: Birthday Party Bonus Ideas

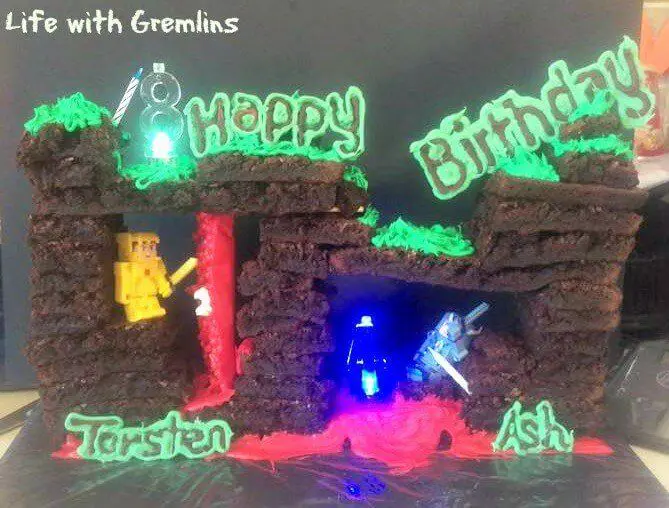
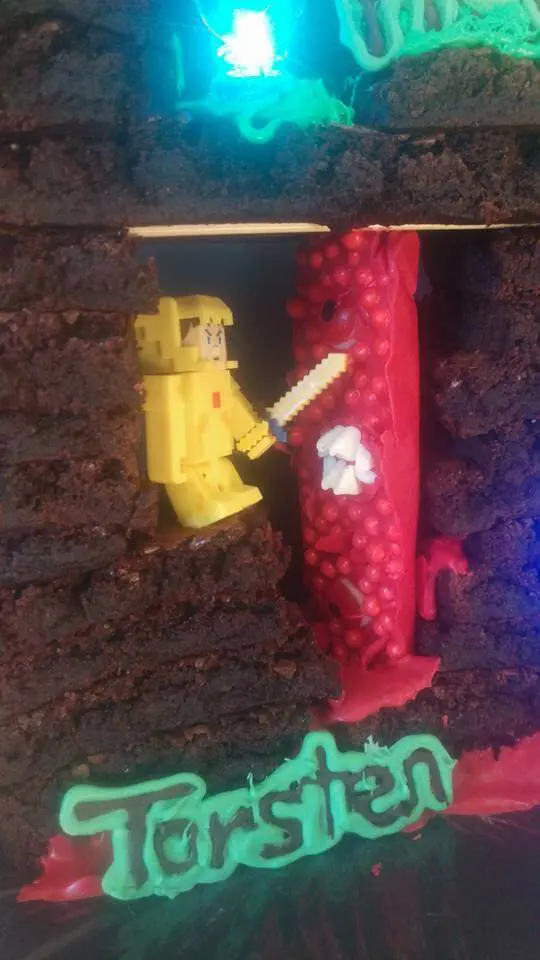
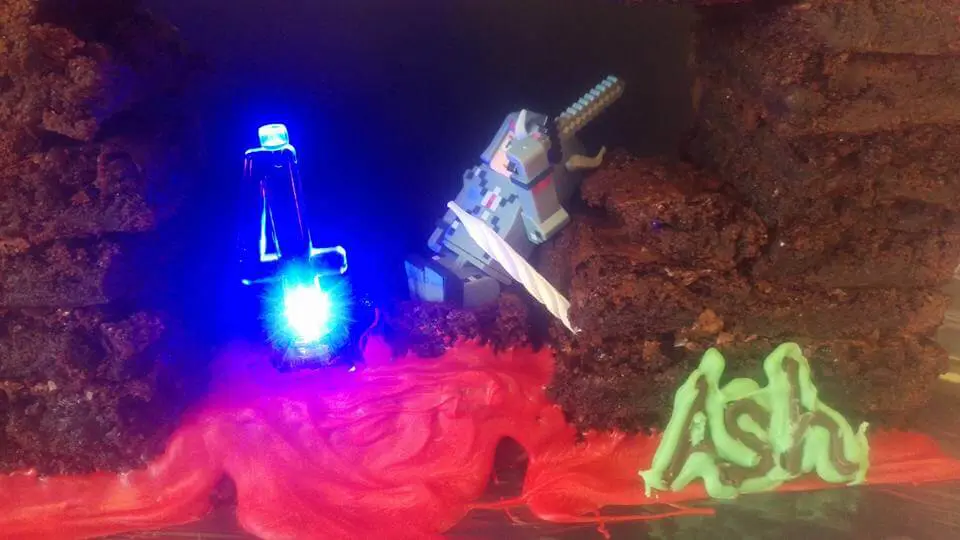
terrariacake3You’d think making a cake based off an entirely square pixel game would be super easy, but when my kids wanted a Terraria birthday, I admittedly was a bit stuck on the cake. A quick Google will bring in loads of Minecraft cake ideas, but Terraria cake ideas are a little fewer and far between. So, I decided to try to use those Minecraft cakes for inspiration, but also recognize that they aren’t the same game.

One of the major differences between Minecraft and Terraria is that a good part of Terraria is played below ground. I thought then that one major difference between a Minecraft cake and a Terraria cake should then be the depth. I wanted to go vertical! Cake itself would have worked for that, but then the bottom layers would have little frosting anyway, making brownies the next logical conclusion. The resulting “cake” was really cool looking albeit a bit of a learning experience, and the brownies worked very well for our park party (no knife needed).

I will start off by saying that you don’t have to follow my cake exactly. You could skip the chocolate wall of flesh for instance or change your cave layout. I have two kids who share a birthday, so my cake also needed two large caverns for the candles. With that, how did I make this thing?

Terraria cake step one: Plan

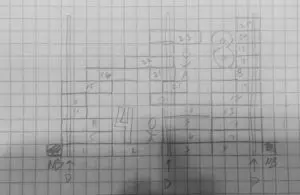
I recommend starting by baking one pan of brownies, and then measuring what size brownies you want to use as “blocks.” Mine were 4” x 3” x 1” meaning from one 13” x 9” pan of brownies I got 9 blocks (I cut the pan in half on the 9” side and in 3 rows down the 13” side (a 13 x 9 pan bakes out to roughly an 8 X 12 sheet). This allows you to take graph paper and plan out your cake. In my half-finished sketch below (sorry, I spaced taking a “done” picture) you can see what I mean. In my plan, each block on the paper represented an inch to plot how many blocks long I planned to make the cake, how many blocks high, and where the support sticks would be.

terraria cake minecraft cake party

I also measured the figurines and candles I planned to use to ensure the caverns I created where tall enough for them to fit. In the end, my cake took just shy of 4 pans of brownies (I used boxed so 4 boxes) equating to 27 brownies. This is important information, because to get clean cuts with brownie, they need to fully cool. Knowing how many pans you need allows you to calculate how far ahead of time you need to start baking to assemble your cake. In places you can see some brownies were only 2” wide, I broke some brownies in half to create more cave-like shapes.

Terraria cake step two: Create a base

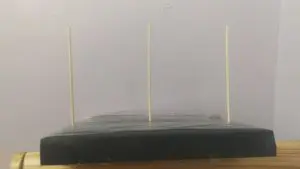
If you were going for a quite short cake, you probably wouldn’t need a support as brownies stack well, but my cake was about a foot tall, this meant building a support. I used green florist foam (mine was 18” long), wood skewers, and some poster board. In retrospect, I would have used wrapping paper on the base, as it would be easier to cover. All I did was cover my foam with the poster board, then measure where my support sticks were planned and stabbed um in there. As you can see from my unfinished plan up there, my cake was 4 blocks long (16”), with a support on the outer edge of each end and one toward the middle.

terraria cake minecraft cake party

Terraria cake step three: Assemble

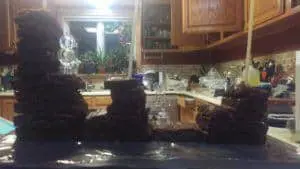
Assuming you have baked your brownies (as I used box brownies, I’m not providing a recipe). You simply begin sliding brownie blocks onto your supports following your plan.
terraria cake minecraft cake partyMy plan caught a snag in that I had areas where brownie sat unsupported to form cavern roof. It ended up being too soft for this, and I had to add wood skewers horizontally beneath those brownies. I also didn’t cut those longer pieces in 4” blocks, they were left at 8” each. It’s ok if during assembly you find you have to improvise a bit.

Terraria cake step four: Decorate

My cake had two Terraria figures. I bought them off Amazon. They, among other armor options, can be found here:

Golden armor Terraria figurine
Silver armor Terraria figurine with comic

My “candles” ended up being too tall with actual candles in them, so I used flashing number bottoms with candles as torches in the walls.

The flashing number candles can be found here, but I actually found them cheaper at Walmart, so you may also check there.

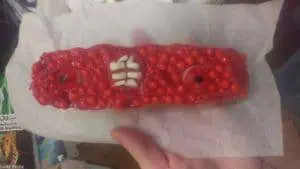
My about-to-be 8 year old actually requested the wall of flesh. He was relatively easy to make, but you could easily cheat and use figurine monsters.

If you go this route, just cut a butter box in half (4-stick pack) and cover the inside with freezer paper. Then pour in red sugar pearls (sort of like sprinkles, but round), followed by prepared red candy melts. While the chocolate is still soft (before freezer-ing this is will stay soft for some time) place in gummy eye balls (also found cheaper at Walmart, but my boys have an October birthday) and then make a mouth by microwaving one red candy melt until barely soft and inserting chopped up white chocolate chip slivers. Scrape your red chocolate melting bowl and make some little wiggly lines on freezer paper, freeze them about 5 seconds, then place them into the still-soft base. Shove the whole thing in the freezer about half hour or until it comes out solid.

terraria cake wall of flesh party

The lava was also made with red candy melts, just liberally put in there with a decorating bottle.

The top grass is just piped green frosting.

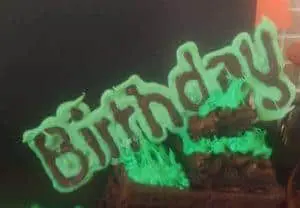
The “happy birthday” words were made by printing out the words I needed using this Terraria font generator. Just place your print out below freezer paper and trace it with first brown tempered chocolate and then green. When finished, place it in the freezer for hardening. This is a very easy way to make “professional” looking cake lettering by the way. I warn, this type of lettering will not handle high heat. If your party is someplace very warm, keep that in mind. It will hold up better the thicker you layer the chocolate.

terraria cake minecraft cake

And that’s it. The kids loved it. It didn’t cost me like over $100 to have made for me, and it was relatively easy.

Bonus Terraria party goodie bag and decoration buys:
Cloth (no tear) treasure bags
Skeletron note books
Skeletron bone pens
Eye of Cthulhu bouncy balls
Foam Swords
Terraria stickers
Skeletron balloon
Stone table cloth

terraria cake party birthdayterraria cake party birthday

DIY Glitter Wall Paint Tutorial

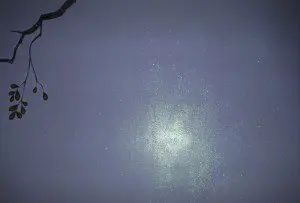
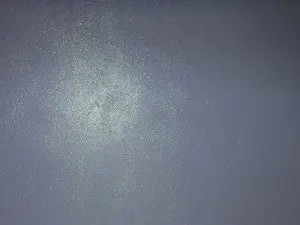
Glitter walls? Yeah, so maybe the husband thought that was a little over the top, but what girl doesn’t want walls that sparkle, because, sparkles! So, of course, I thought, “somebody has to sell that,” and by “that,” I meant glitter wall paint, and somebody does, but holy walls that sparkle is it expensive, I mean $50$150 a gallon depending on the base color or maker, and here in Alaska, shipping was extra. I wanted baby girl to have a glitter wall, but, well, I’m cheap.
glitter wall
Next thought? Glitter paint additive. That would be cheaper right? Sure, a pack of glitter paint additive will run you about $12 on amazon with free Prime shipping– except it takes two packs per gallon for a “subtle shimmer” and 3+ for any real sparkle— after buying even cheap generic wall paint you’d still be looking at about $50 a gallon.

Finally, I had that eureka moment, a flashback to 8th-grade ceramics class, “glitter glaze! That’s the ticket!” I thought. Sadly, glitter glaze was $14 per 16 oz or $22 for 32 oz. I guess that makes sense being this glaze is actually intended for small craft projects.

Defeated, I settled for the 16 oz. I figured I could add some glittery swirls like a little fairy had gone fluttering across our daughter’s walls. When I went to do that though, I found a little covered a lot and was way more sparkly than I really wanted. I didn’t want like a bling wall encrusted in glitter—that would be over the top and into tacky.

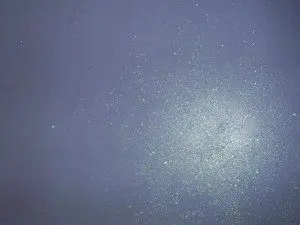
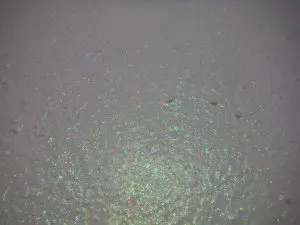
I washed that small patch off, and then I watered the remaining glitter glaze down. I threw that entire 16 oz. bottle in a container I never wanted to use again (because not every girl wants sparkly poop) then added about a cup of water. Shockingly, that 16 oz + 8 oz water covered an 8 x 10 room! The effect was this awesome almost iridescent look. The glitter does not flake off when the wall is touched either. It didn’t even add a texture. I did have to do the whole room with a paintbrush, but with a 4 in. brush that still only took me about 45 minutes.

Total cost?

-1 gallon paint: $18
16 oz. glitter glaze $14
$32!

Alright, assuming you didn’t get bored with my narrative there and click back to Pinterest, I should probably throw some less chatty directions for this glitter wall project in here.

How to Make DIY Glitter walls (or a glitter wall)

1. Paint the room or wall as you normally would and allow it to dry.

The paint color in our daughter’s room in the pictures is “lavender dream.” The color glitter in the glaze used in this case is silver and sort of a lime green, so keep that in mind when choosing a color— pinks, purples, lighter greens, white, or silver would all look great for the base.

glitter walls

2. Lay out drop cloths.

This is a messy project. I mean, you’re painting watered-down glitter glaze on a wall, unless you want glitter floors too, drop cloths are a must to minimize the mess. I used a sheet the kids had destroyed.

3. Mix your glitter glaze

I did 1 cup (8 oz) water to 16 oz of glaze, but if you want a stronger glitter effect, reduce the water. If you want even less shine, go a little more. You can do a test patch if you like. While the glaze is wet, it will come off with warm water. Coverage-wise, it looks much like it does wet once dry except you can’t tell where the brush strokes are and such.

As noted up there, a 16 oz. bottle mixed this way covered an 8 x 10 room with one small window and a door.

4. Paint it on the wall

I was not brave enough to try a paint roller on this project. I feared it would absorb all my glaze and I’d be stuck buying more. If you try it, drop us a comment and let the rest of the DIY glitter wall makers know there’s an easier way, but I used a 4-in. edging brush. Again, if you didn’t read the beginning of this thing, an 8 x 10 room took me about 45 minutes this way, ceiling to floor, full coverage.

5. Let it dry

That’s it. Now you just sit back and enjoy the sparkle, which is way easier than trying to photograph these glitter walls was. Seriously, I could not capture how cool the final result ended up looking. These walls are purple at one angle, step two feet, the lighting makes them look a shiny silver-green like fairy wings. When the sunlight comes in it looks like her walls are covered in diamond flecks. I’d do this to my whole house if my husband wouldn’t kill me, because sparkle!

glitter wall diy diy glitter wall paint tutorial glitter wall paint