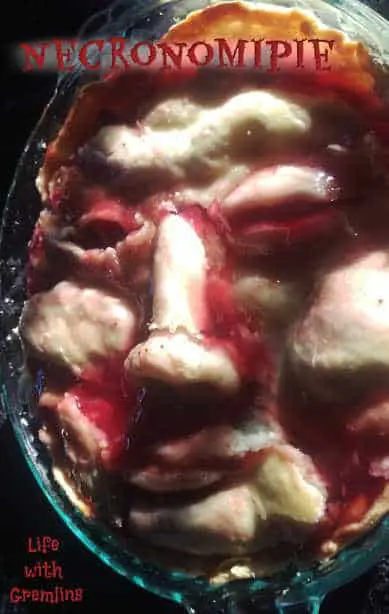
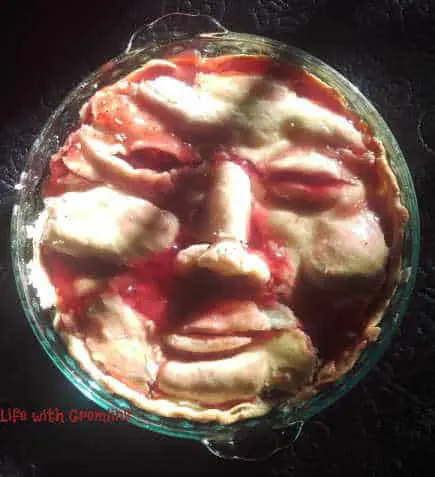
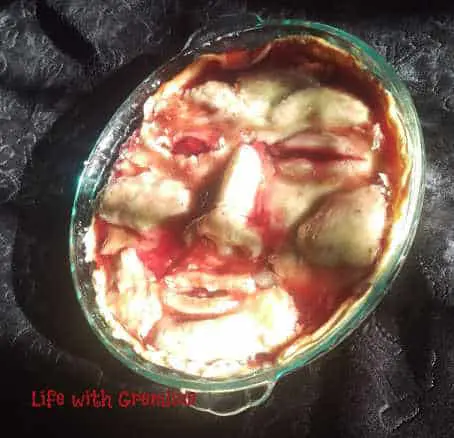
While I’ve pretty much locked in meatloaf head as my go-to savory bring-it, I’ve tried quite a few Halloween desserts and just haven’t found one that was worthy of repeating yet—until now. Looking for Halloween baking ideas, I ran across these really creepy pie faces and was bummed to discover they were made of latex and foam. Not to be discouraged though, I proclaimed, “I could totally do that with real pie,” and I did. The result was not exactly like the not-food versions, but definitely sufficiently creepy and relatively easy to boot.
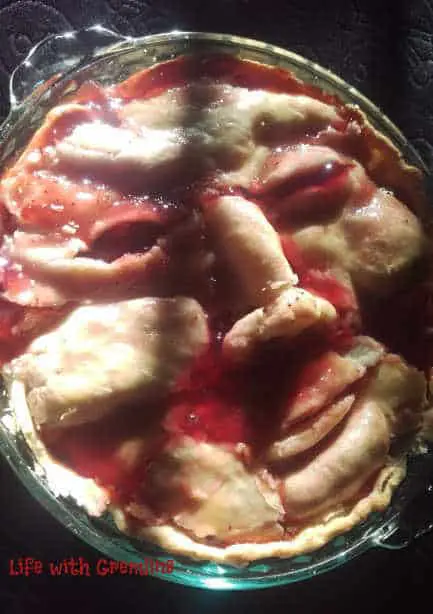
I give you, face pie, the necronomipie.

Pictured is cherry, but you could easily do this with strawberry or triple berry to keep that red filling look. I might try a chocolate cream pie or even cheesecake with a top cherry layer in the future as well. You could do chicken pot face pie even, but I’m not sure if gravy would look as neat on the pie face and, well, Halloween desserts are more fun anyway.
Assuming you do cherry, you don’t need much. I used two pre-made pie crusts, canned cherry pie filling, and an egg. You could, of course, also make your own pie crust and filling. The bottom of this pie is sort of irrelevant to the face-pie effect, so you can use whatever recipe for that you like.
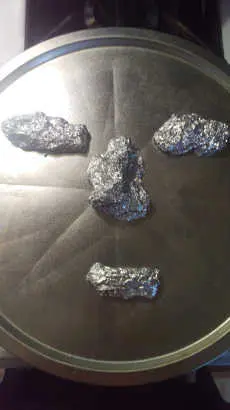
To make the face pie top crust, you’ll need a butter or pastry brush, a sheet pan with a flat edge (I used a pizza pan, but something like a spring-form pans base would work too), and tin foil.
Start by building a tin-foil support structure. Pictured you can see my rough nose, chin, and cheekbones. I also added a little brow and lift in the closed eye after I took the photo (added in the artist process). These are also just balled up tin foil.
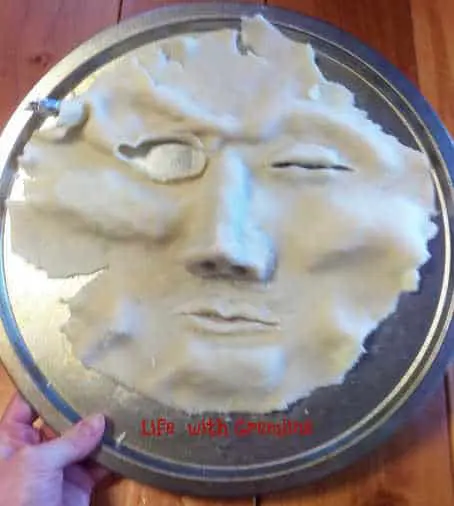
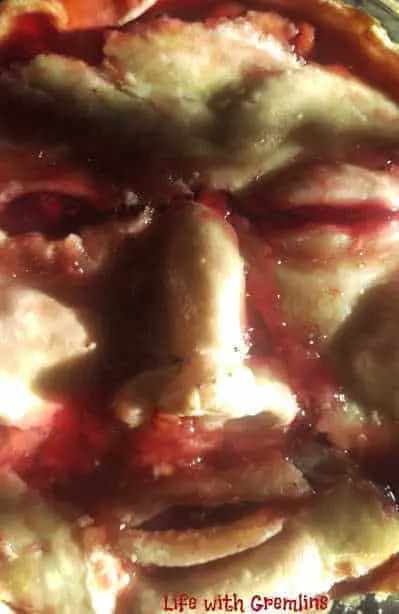
I’ll note here that I didn’t grease my surfaces, and everything came loose just fine except the nose. You can see in the pie face where the nose even cracked a bit as I removed it from the frame. This is probably because building the nose requires some pushing and smoothing of the dough (have it at room temp btw to ease that process). Next time I make this I plan to try greasing it to see if that works out better.
After you’ve got a frame worked out, drape a single pie crust over it and begin building your face. I used a kitchen knife to cut out one eye socket, a slit in for the other, and cut out the mouth shape. I made the edges a bit ragged and used the cuttings from that to build up a bit around the eyes and lips as well as build the nose. It helps during this part to look at a picture. It’s OK if it’s not perfect, the end product is supposed to resemble a skinned face on a pie—most people aren’t going to look their best in that scenario.
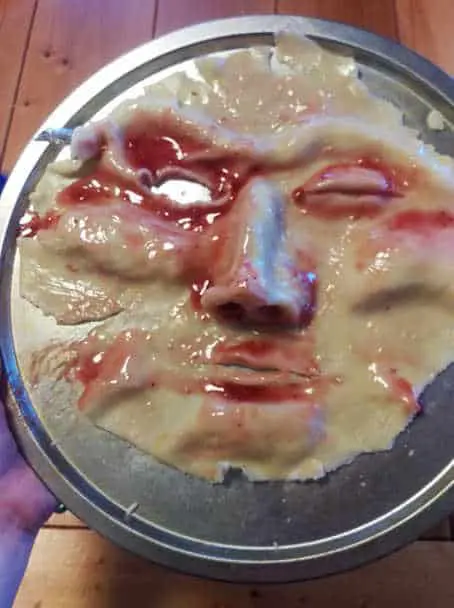
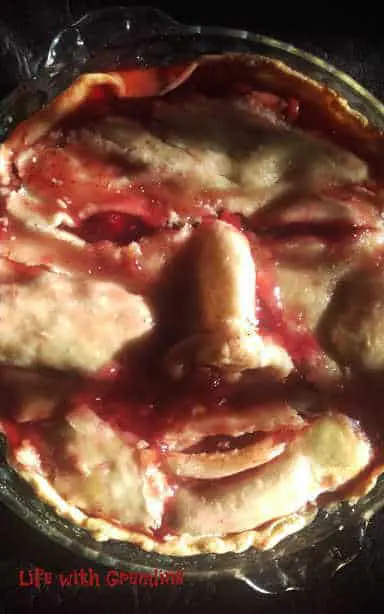
Once you’re happy with your face, paint the entire surface in an egg wash (just a beaten egg). Then go back over the cheekbones, highlight of the nose, and brow with a bit of cherry filling on your brush. Think of it sort of like applying makeup.
Apply heavier around the eyes and in crevasses. I actually used a spoon for the heavier parts. You could make this darker by trying red food coloring, I alas somehow have more than 50 food dye colors in my cabinet but not a single one of them was red.
Then you just bake your pie face following the instructions on your package or in your recipe. Once it’s done use a spatula to carefully lift each edge and remove the tinfoil frame. This is a somewhat delicate process, go slow. It will still be a bit soft and flexible in spots.
The final step is to slide your pie face onto your finished base. I do mean slide, literally. I hovered the pan I cooked it on over the pie and carefully slid it on to the surface. Once on your pie, you can do some adjusting. For instance, I pushed some spots into the filling to give my face pie some ooze and spooned more in other spots. It’s sort of up to your own artistic touch as no two tries at Halloween desserts such as this are going to be the same.
We’d love to see any tweaks you make in comment or hear about what worked and didn’t work for you if you try this. While this is something I will be making again, like all Halloween desserts, it’s not something I have or probably will make a lot. Trial-and-error by comment is always welcome.

